|
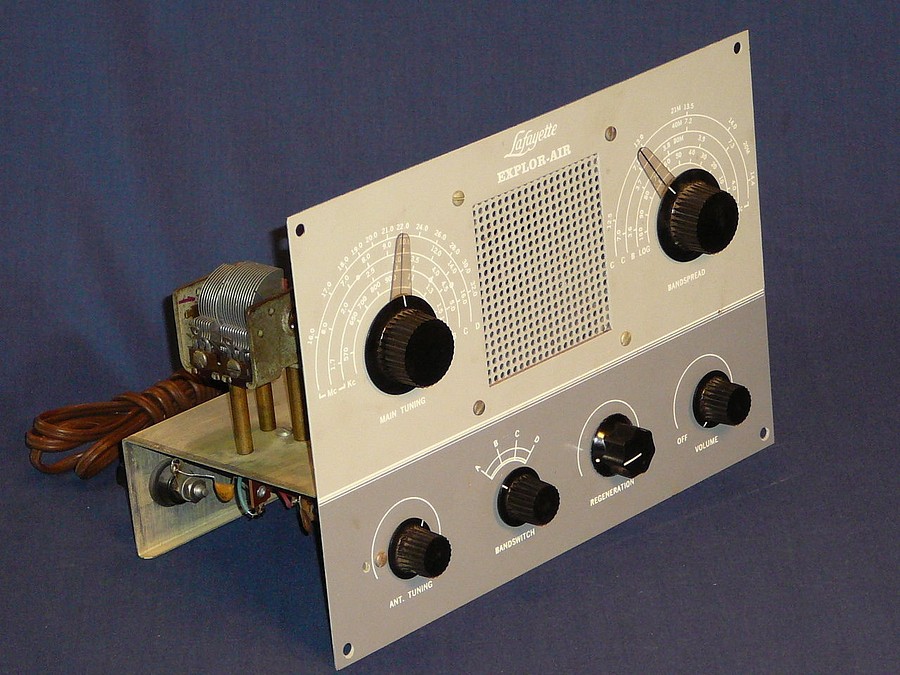
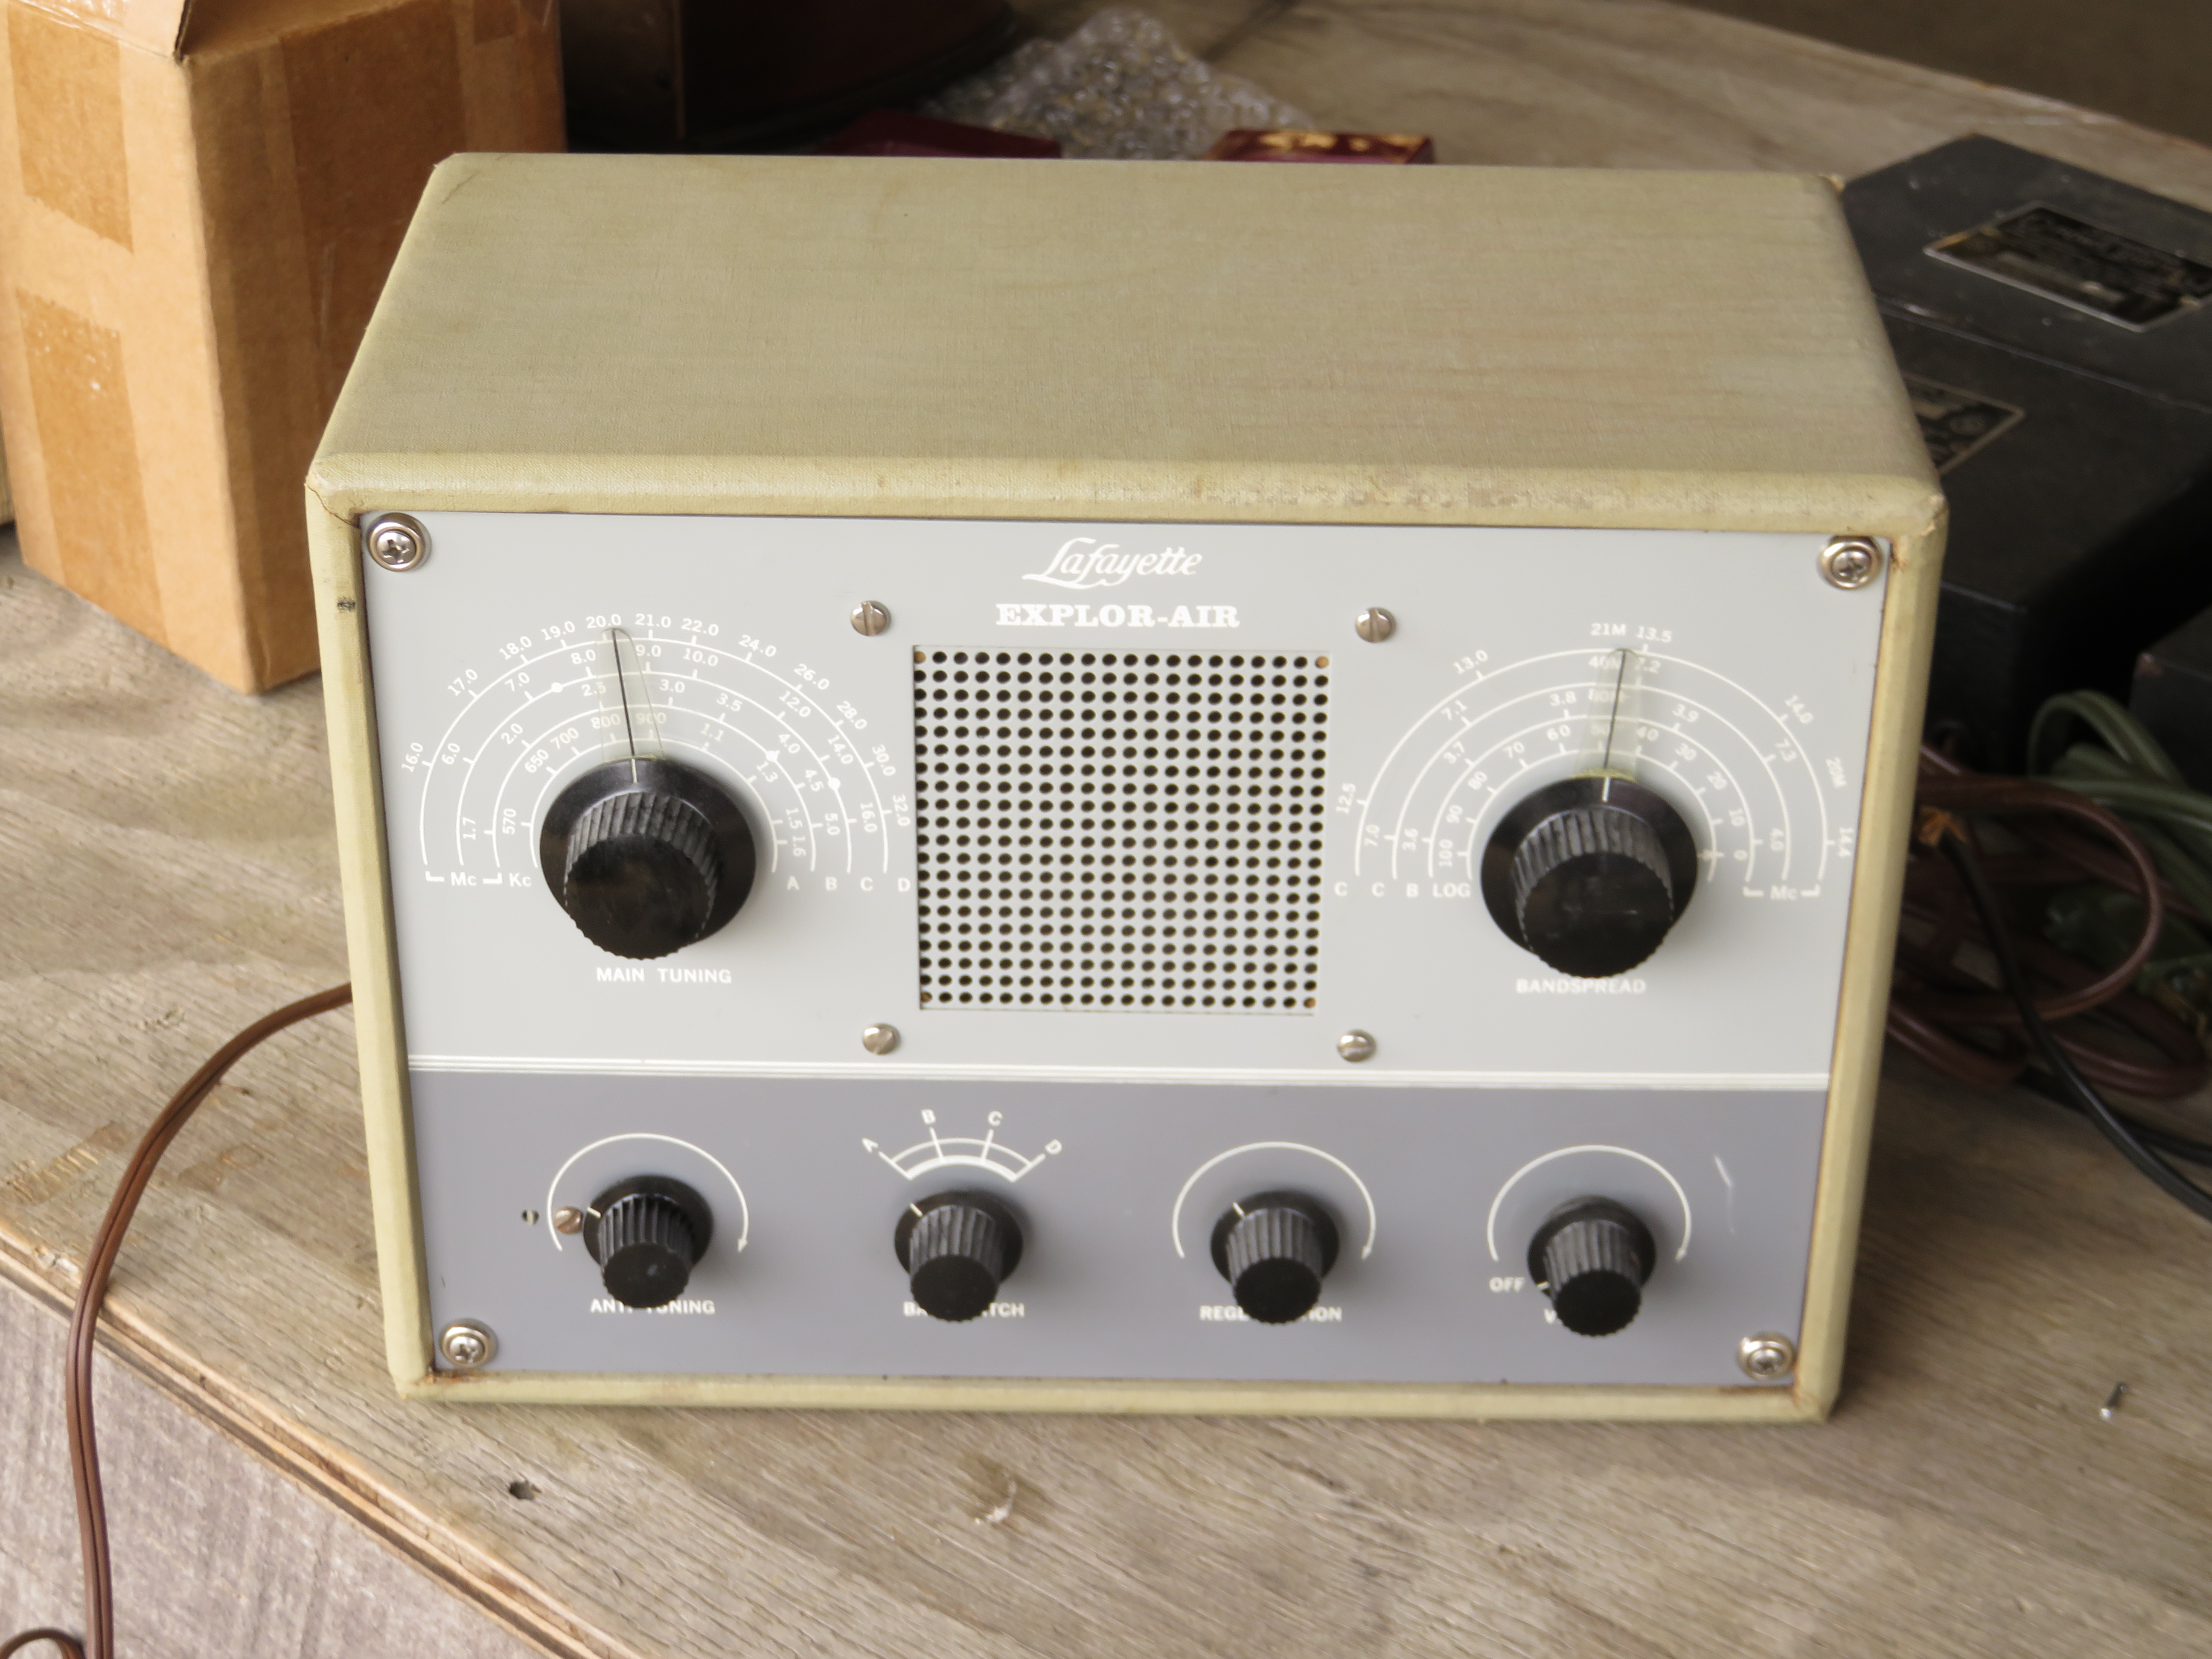
Lafayette KT-135 EXPLOR-AIR radio
kit |
 |
|
|
|
|
|
|
MORE KT-135
EXPLOR-AIR
KITS! |
|
|
|
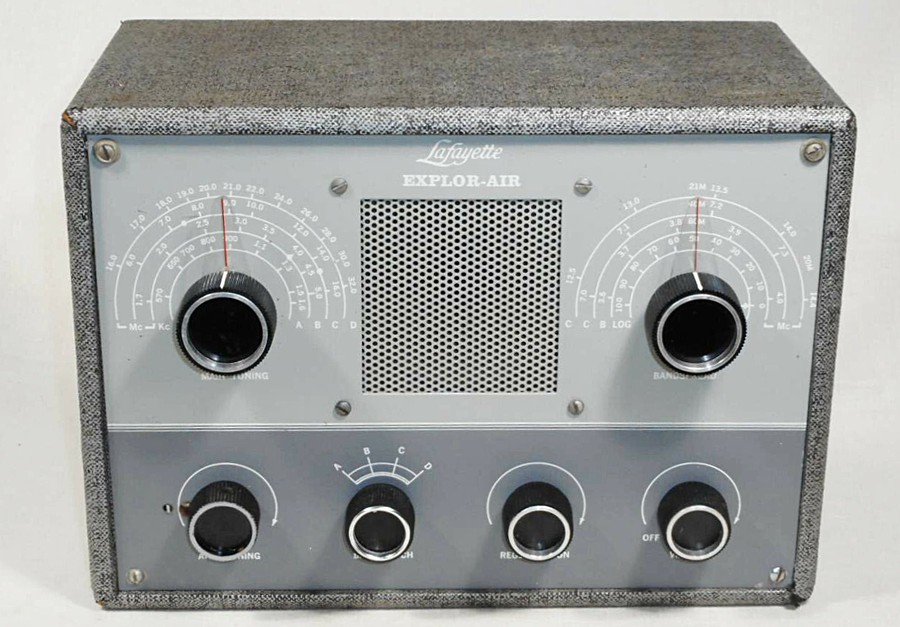
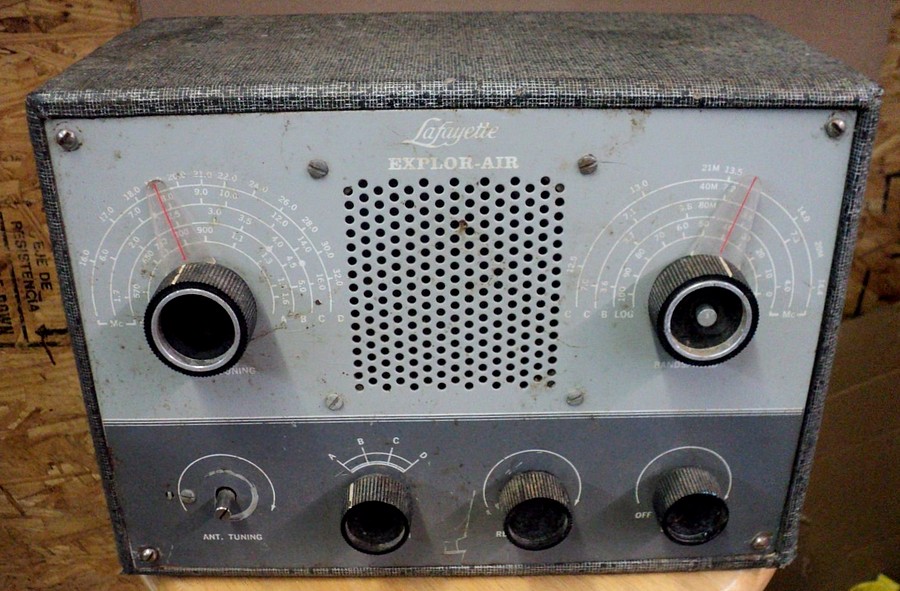
Another nice one, except for the
Regeneration control knob. |
|
|
|
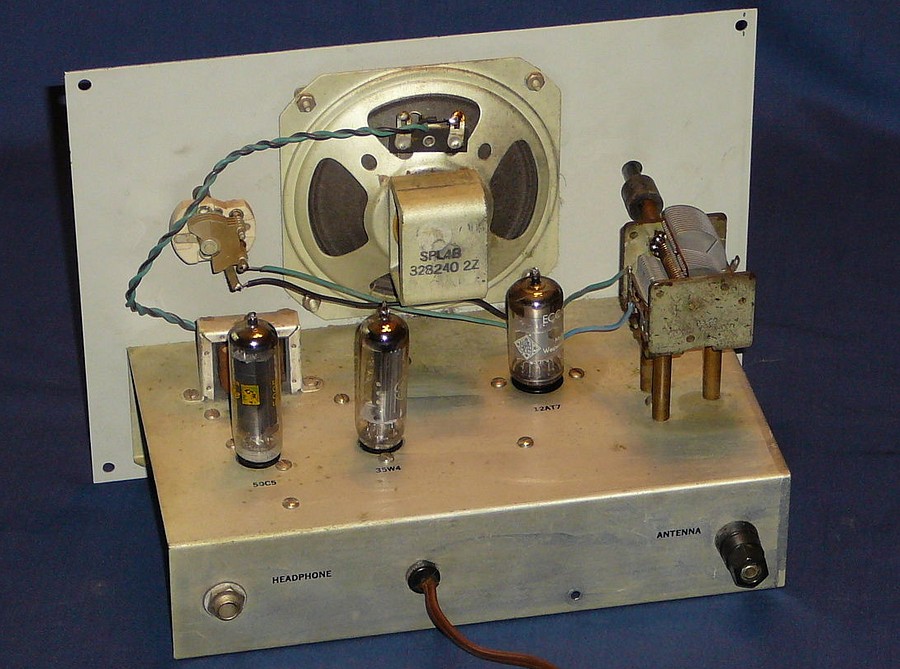
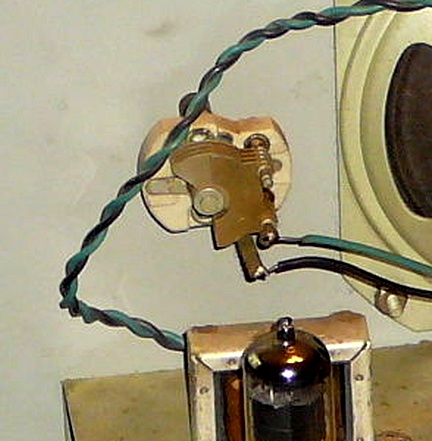
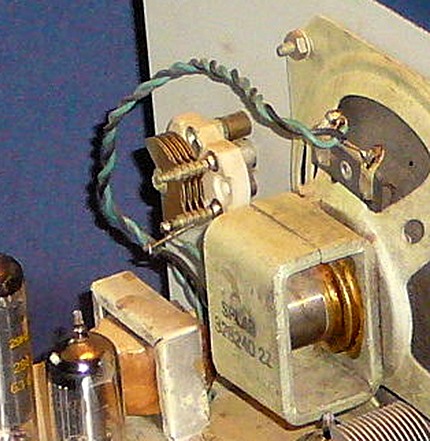
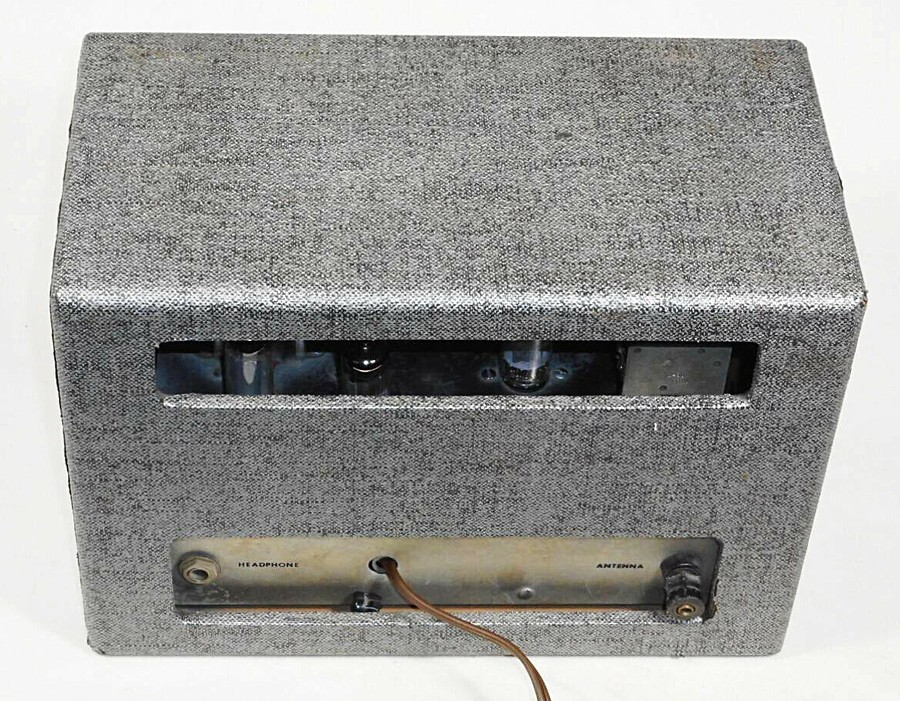
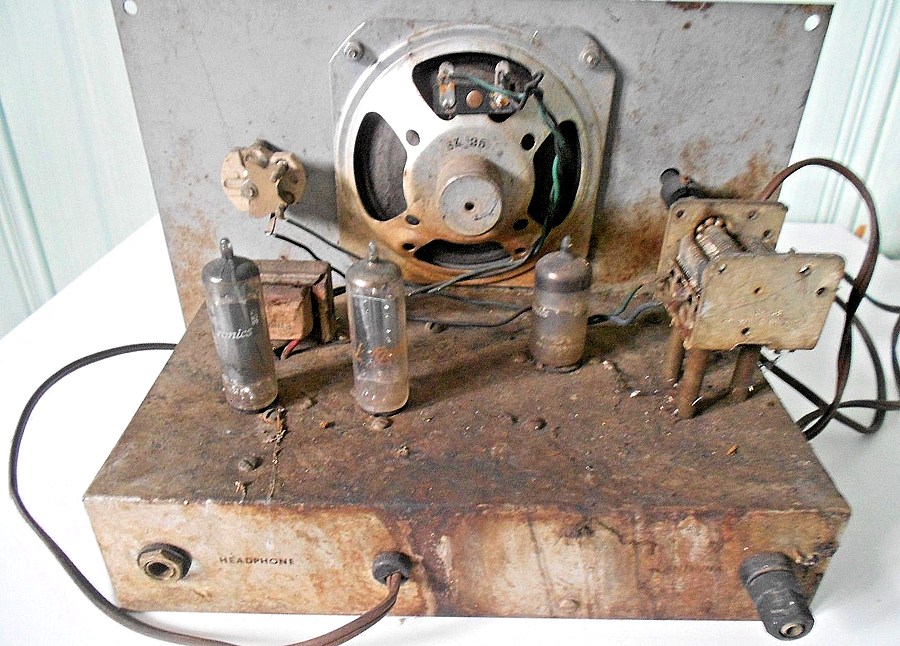
Here's the back. Are the speaker wires
touching that capacitor? I am losing
sleep over it. |
|
|
|
|
|
It's an optical illusion. What a relief! |
|
|
|
|
|
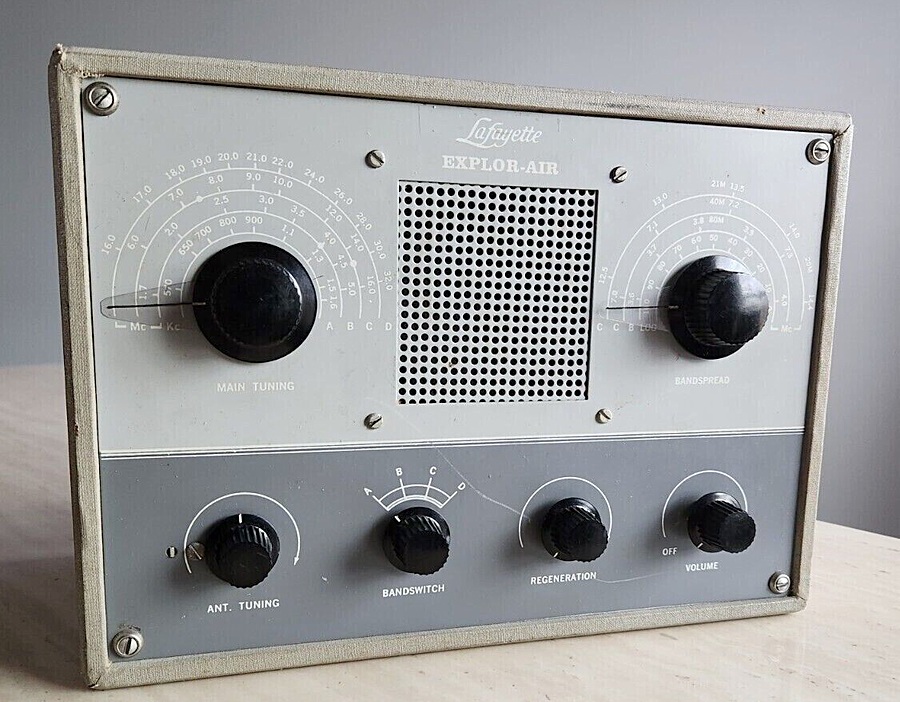
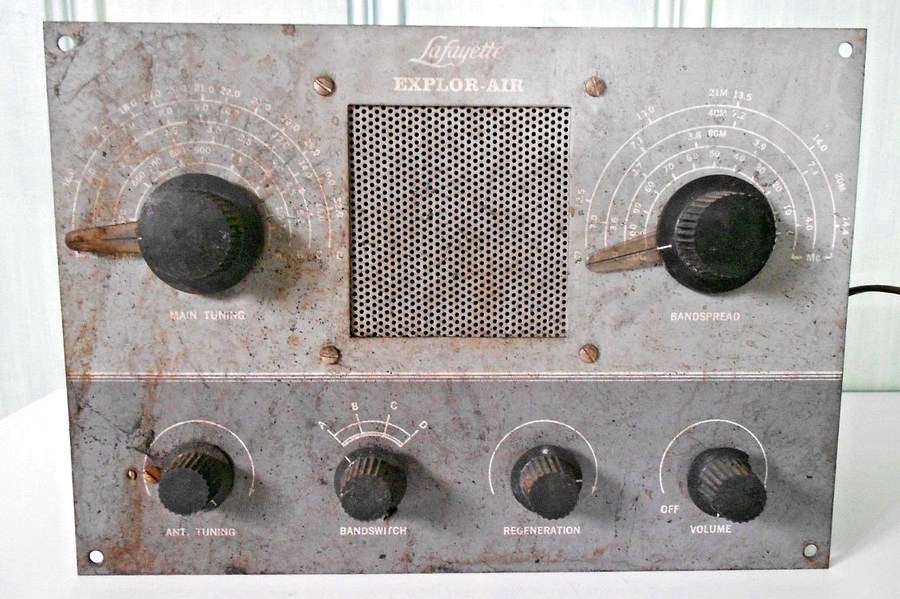
Very nice front panel and knobs. The screws holding the
front panel to the cabinet are rusting.
Older front panel, newer knobs. What lurks inside? The
cabinet looks to be in good shape. |
|
|
|
|
|
|
How is it that the front panel of
this radio is completely undamaged but the plastic pointers
on the two large knobs are missing? |
|
|
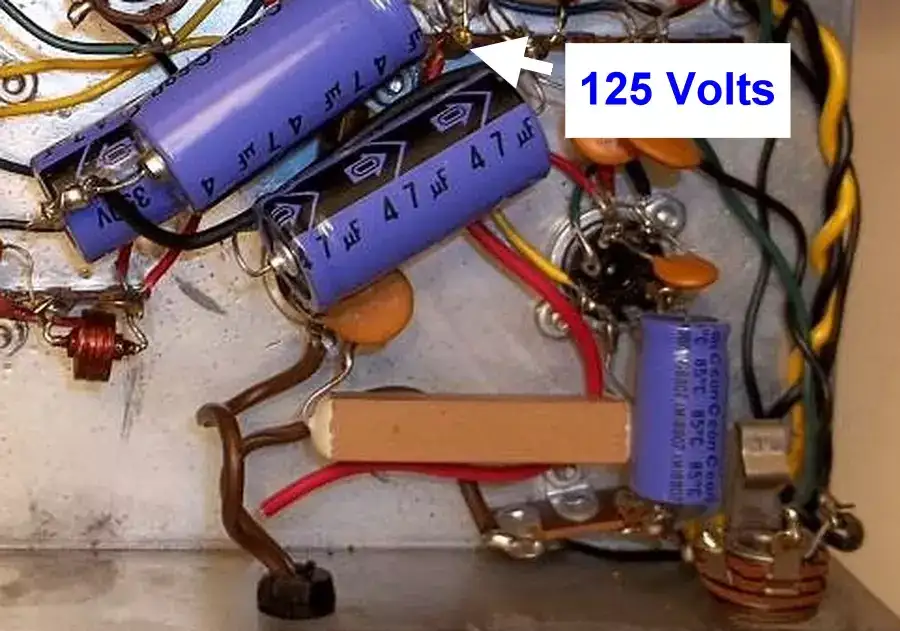
Filter caps replaced, job well done.
There is a red wire, once part of the original filter
capacitors, connected to the B+.
You can see the end of it near the AC cord. When it
comes into contact with the chassis, it will be GOOD for the radio.
|
|
|
|
|
|
How did this happen? Did somebody just
forget to remove the wire? |
|
|
|
|
|
|
|
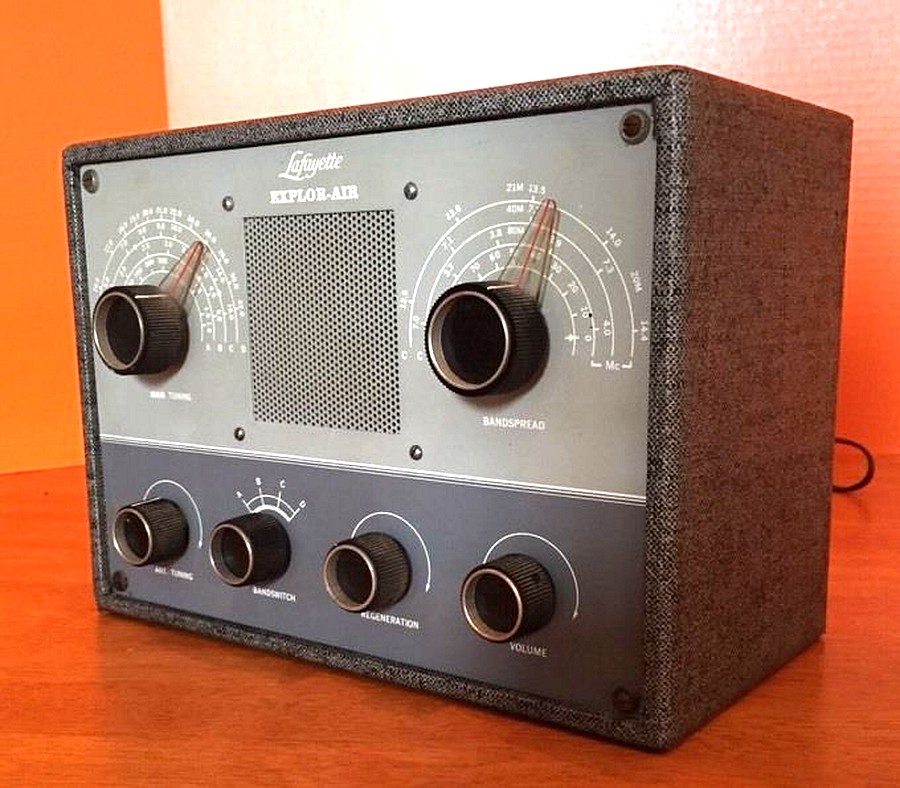
Found at the Kutztown PA Radio Show on
May 7, 2021.
The seller wanted $100.00.
I didn't know what the cabinet was covered with. Click on the
photo for a full sized version. |
|
|
|
|
|
The covering seems to be made of painted
fabric. It actually looks kind of cool. It turns out this
was a factory job and the cabinet actually came this
way. Now I regret not
buying it. |
|
|
|
|
|
|
|
|
Very nice front panel! This one sold on
ebay for $295 + $13.30 in October of 2020. There were 22
bids.
Three of the four lower knobs are replacements. |
|
|
|
|
|
Very nice cabinet. The strain relief for
the AC cord and the antenna binding post are both broken,
but these are easily replaced. |
|
|
|
|
|
|
|
From ebay, May 2022. Seller stated
"Needs paint."
The buyer (Lawr Salo) wrote in
with, "It needed a lot more than paint." |
|
|
|
|
|
|
|
| Bob Romanko (AK4BR) from
Earlysville, VA, won this very well built and
perfectly preserved KT-135 in 2023 after spending $3
on raffle tickets! Click on the picture to view the
original photo. |
|
|
|
|
|
|
|
|
|
| My favorite, because the ebay seller
stated the condition wasn't too bad for its age. It
looks to me like it was brought up on the end of a
fish hook from some pond. The bandspread knob (upper
right) had
been bashed in so hard the end of the tuning capacitor
shaft has been pushed right through it. I would
really like to see more of this, but this was the
only picture. He was asking $50. For some reason it
never sold. |
|
|
|
|
|
|
|
|
|
I bought this for ten dollars! It was at
the Kutztown Radio Show on May 13, 2022.
What a disaster! I've seen knobs with no pointers, but never
a pointer with no knob.
See a video of the restoration
here. |
|
|
|
|
|
|
|
|
Don't look at this! Scroll down! Scroll,
damn you! |
|
|
|
|
|
|
|
|
Very nice front panel, and original
screws and finishing washers in the corners. From Ebay
September 2022 |
|
|
|
|
|
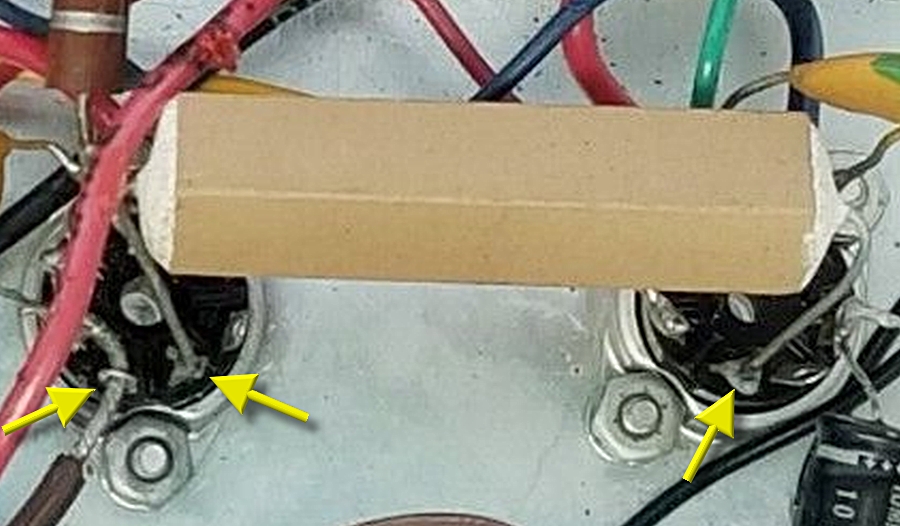
The seller stated it didn't work. There
is no solder on some of the connections, and signs of heat
on the connections of this resistor |
|
|
|
|
|
|
|
|
Very old specimen with plain covering on the
cabinet and original screws and cup washers in the corners. |
|
|
|
|
|
From ebay, January 2023. It looks beautiful
and has Lafayette tubes. Wait a minute.... |
|
|
| |
|
|
|
|
|
| |
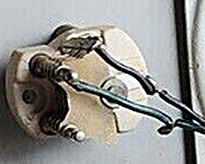
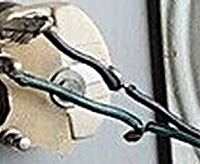
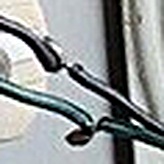
What the...?!! |
Wires spliced? It can't be! |
Please, no! |
MY EYES!!!! |
|
|
|
|
|
|
|
|
|
|
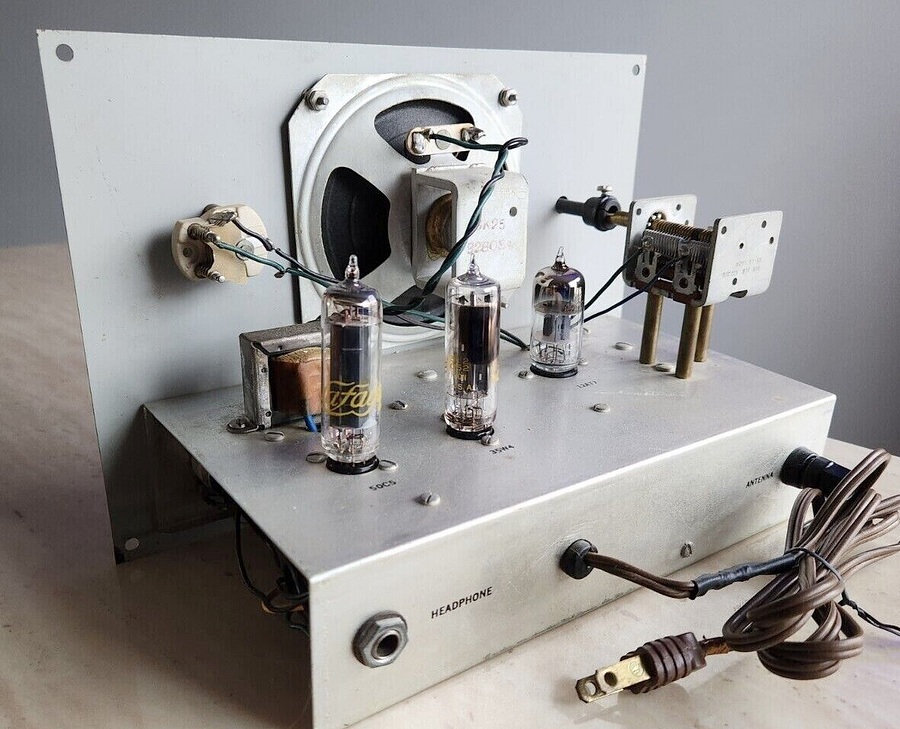
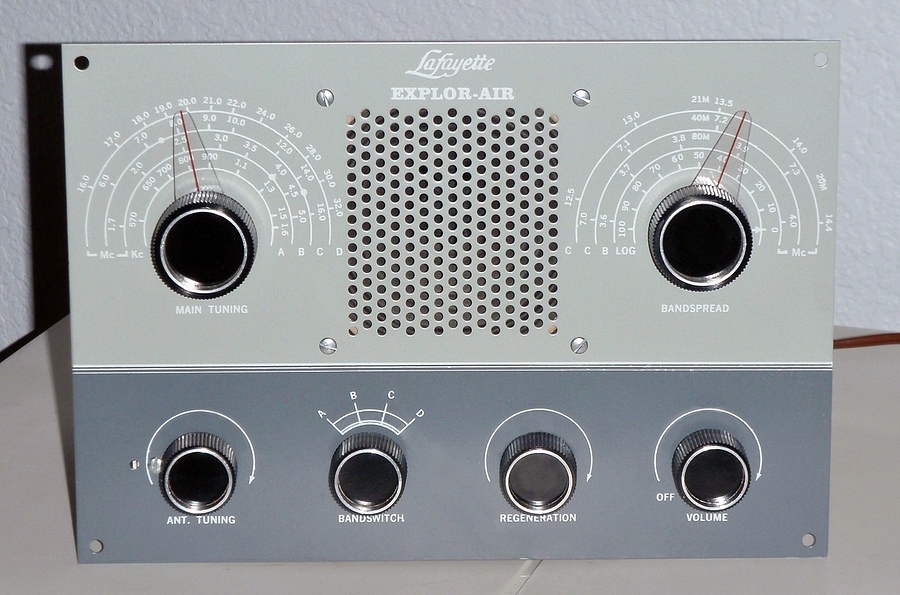
This KT-135 was a NOS kit from 1965,
built by Jeff Hutchinson in 2023. |
|
|
|
|
|
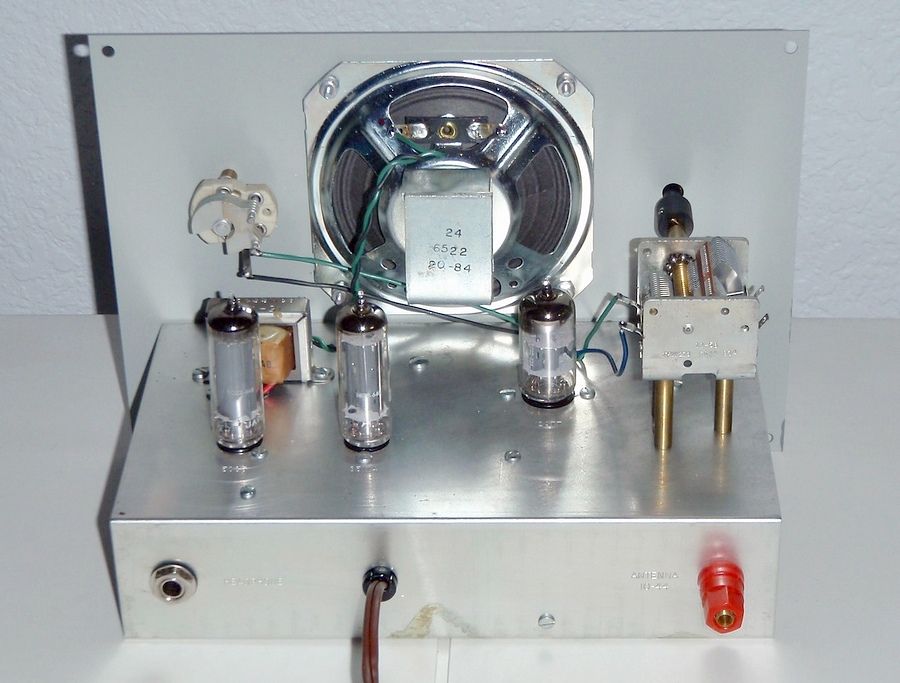
Rear of the NOS kit. |
|
|
|
|
|
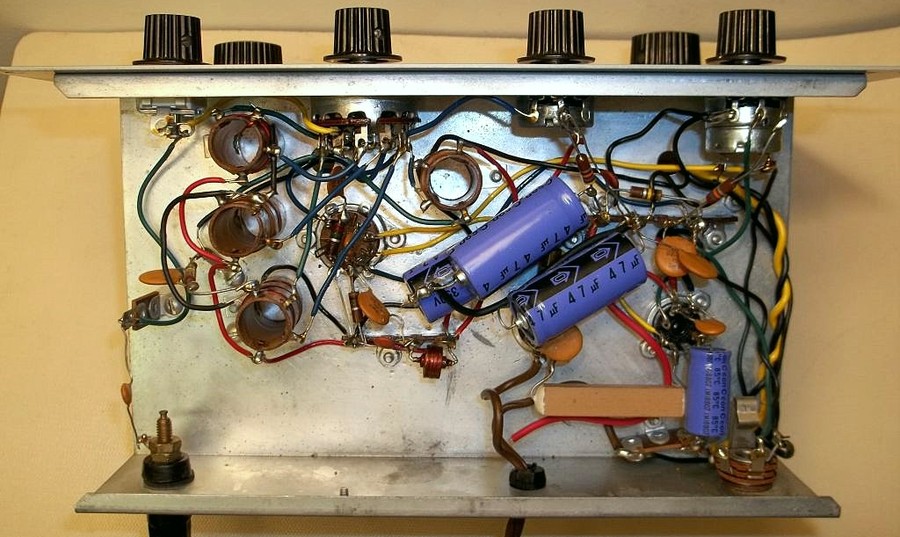
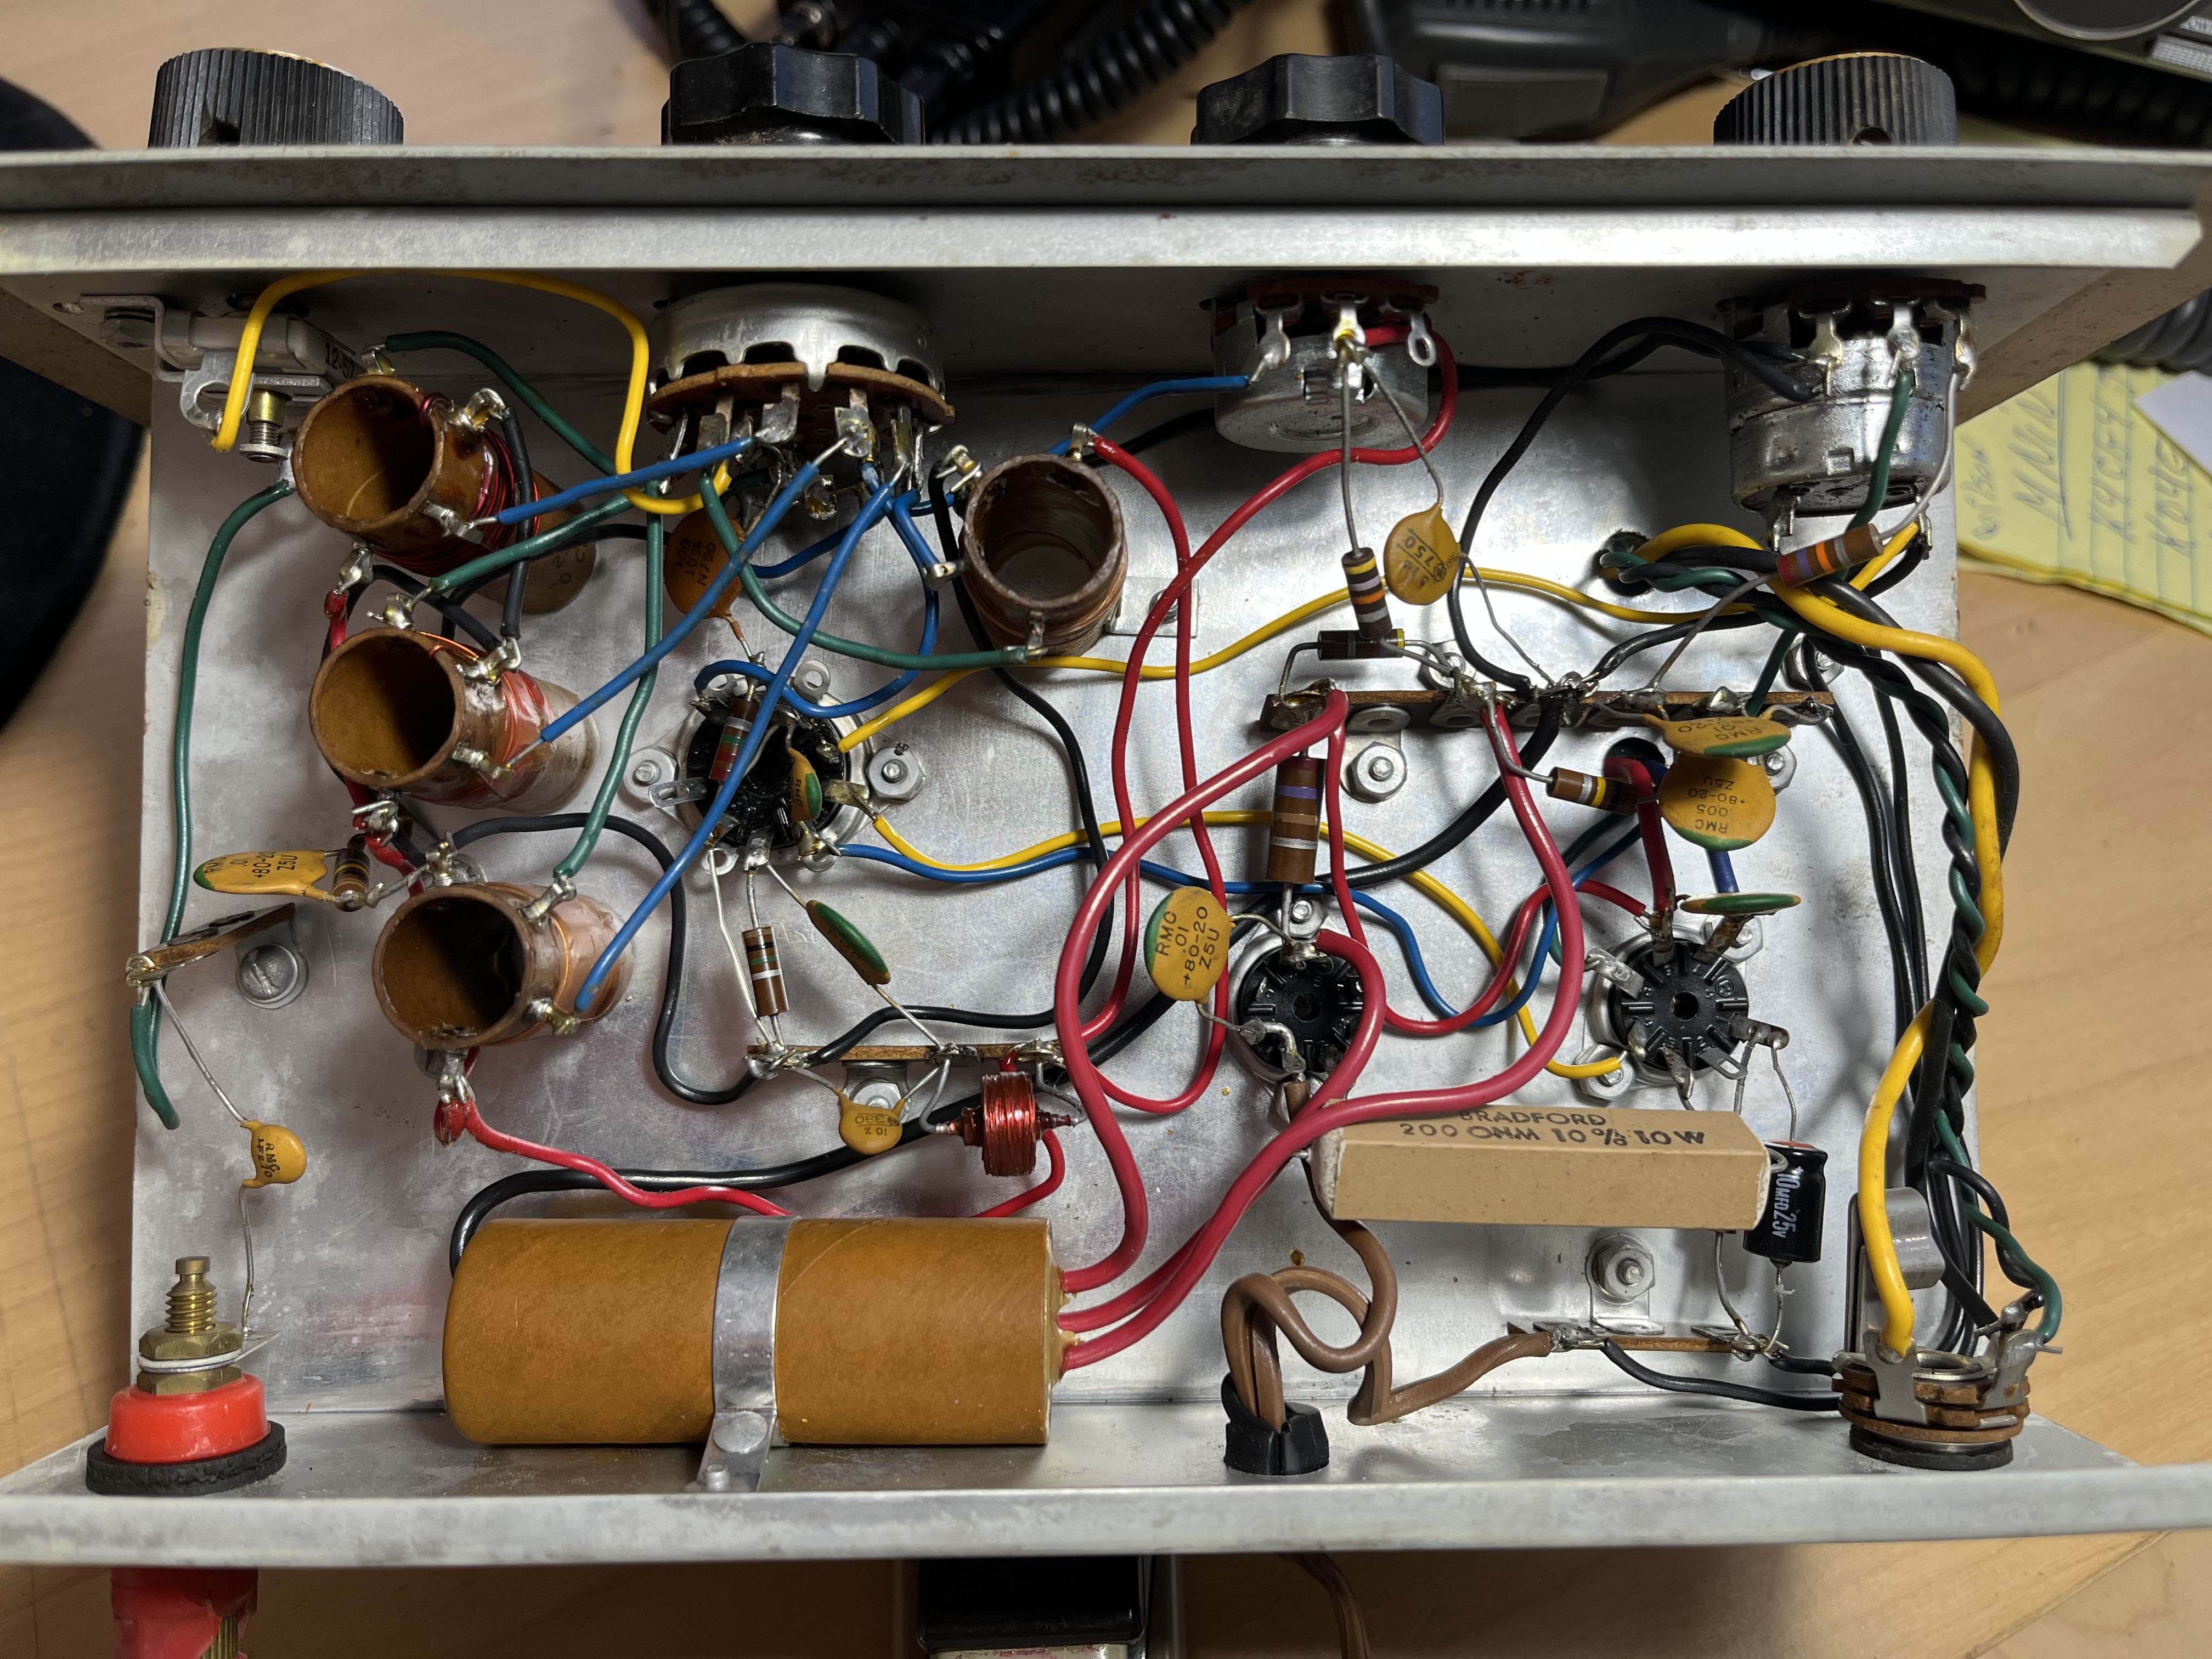
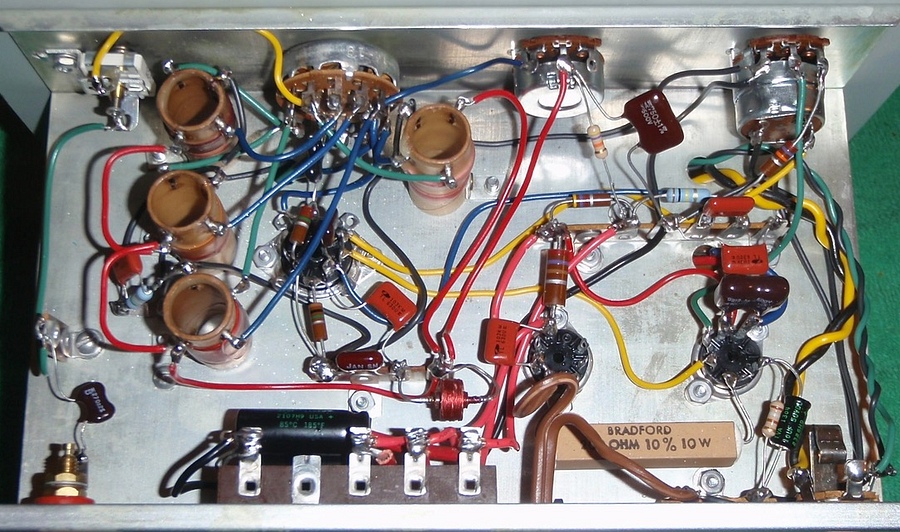
The underside. Though the kit was NOS,
all the capacitors are modern replacements. |
|
|
|
|
|
|
|
|
A wooden cabinet covered in Contact
Paper to make it look like a wooden cabinet. |
|
|
|
|
|
|
|
In 1966 someone was building a KT-135
and dropped a lock washer. It vanished and was never found.
He still wonders about it sometimes. |
|
|
|
|
|
|
|
|
WHAT THE DICKENS HAPPENED TO THIS
ONE??!! |
|
|
|
|
|
This is a crime! IT'S A SIN! |
|
|
| I've seen this exact type of
damage on top of a metal cabinet in a detached
garage. I hate to tell you, but it was from a
squirrel that had died and decomposed there. I think
we have a similar situation here. This photo is from ebay. On June 30, 2018 someone
actually bought this for $67.60! If it only had been in a cabinet. |
|
|
|
|
Next, making a cabinet for the radio. |
| |
|
|
| |