 |
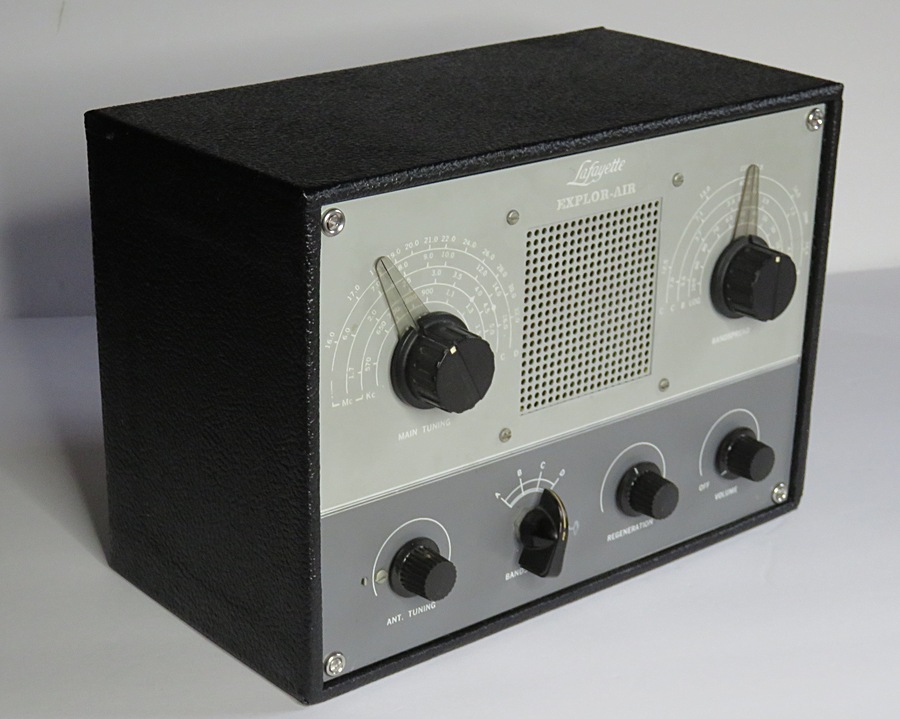
Lafayette KT-135 EXPLOR-AIR radio
kit |
 |
|
|
|
|
|
|
Making a Cabinet |
|
|
|
|
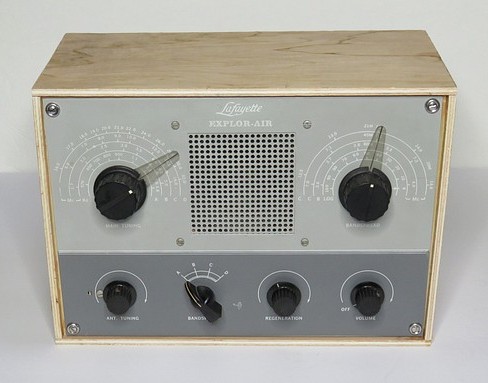
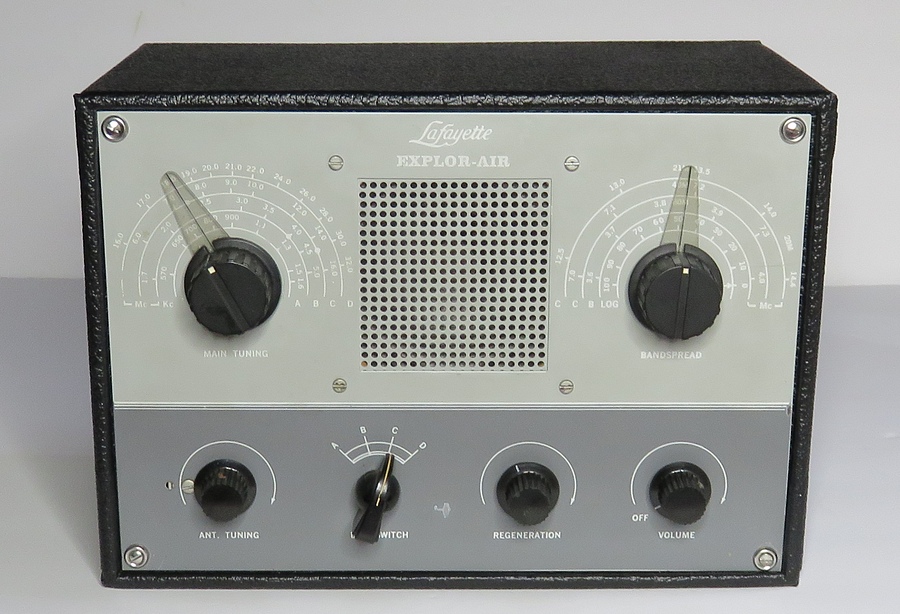
The Lafayette Explor-Air
radios appear on ebay several times a year.
Sometimes they don't have a cabinet. The cabinet was
sold separately and not everyone bought one or could
afford one. The cabinet cost $3.49 in 1968. In 2025
that is the equivalent of $32.50.
It's neat to listen to the radio and peer over the
top of the front panel and see the tubes glowing,
but the chassis is open at the bottom and is a shock
hazard. Components and coils underneath can be damaged.
On top, the variable capacitors can be bent and
shorted, vacuum tubes might be broken. The
radio should have a cabinet. |
|
|
|
Let's build a cabinet for a KT-135! |
|
Note: These are not
"instructions." This page just
shows how I made a cabinet. |
|
|
|
|
|
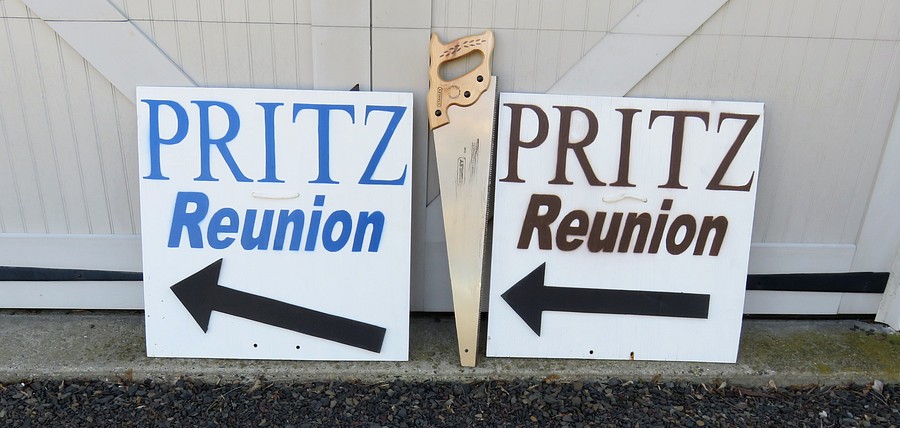
The cabinet is made of
3/8 inch plywood. I happen to have some 3/8
inch plywood, in the form of a half dozen signs we
made for the Pritz family reunion back in 2005. (I
was married to the granddaughter of a man named
Peter Pritz. In the 1930s Peter Pritz invented the soda machine - the kind where the cup drops down and
fills up with soda syrup and seltzer.)
There's just one problem. This plywood was
the cheapest crap you could buy. The signs were left
outside at various intersections overnight, then
stored in the garage for 13 years. They are very
warped.
The only tools I have are a hand saw and a palm
sander. Not only that, my wood working skills are
abysmal. Nevertheless, I'm going to try to make a
cabinet. |
|
|
|
|
|
|
|
|
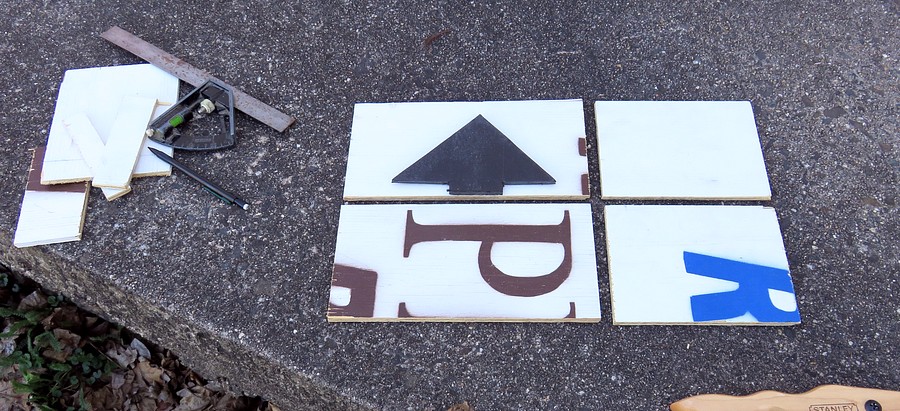
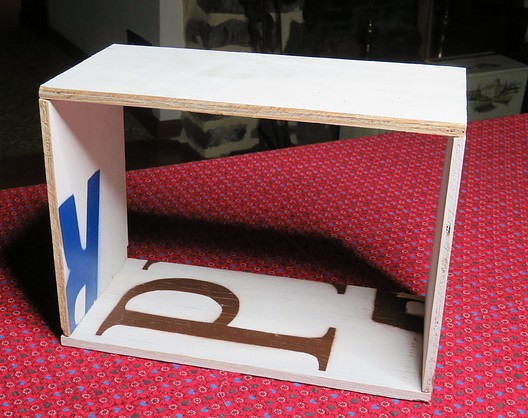
I used non-warped sections
of the signs and cut out the top, bottom and sides.
Most people could do this in ten
minutes but it took me an hour. 'Tis a poor
craftsman who blames his tools. Damn tools!
|
|
|
|
|
|
|
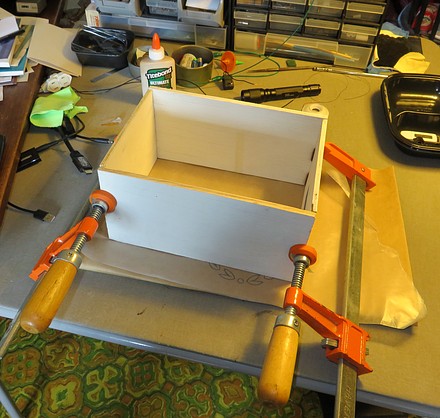
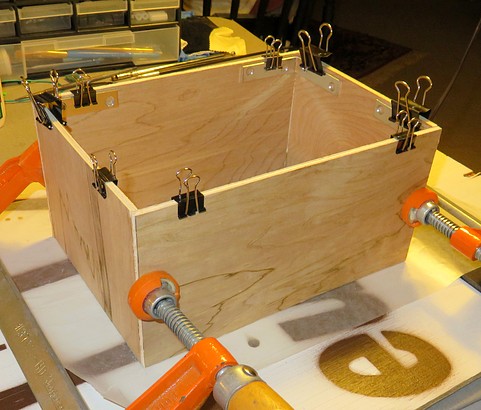
The panels were glued and
clamped. The real cabinet from Lafayette Radio has dovetailed joints but
I have no way to make anything
so sophisticated.
The
glue used was Titebond III Ultimate Wood Glue.
Rated #1 by Pros, so it says on the bottle. The Titebond people
know how to make glue. I was amazed at how strong the
box was the next morning. |
|
|
|
|
|
This came out better than I
thought it would! However, it was time to
reconsider making the cabinet with this plywood. How much effort
was it going to take to go from a plywood box to a
radio cabinet? The wood I was using was not
appropriate, no matter how much I intended to sand
it. It was time to get a decent piece of 3/8" plywood.
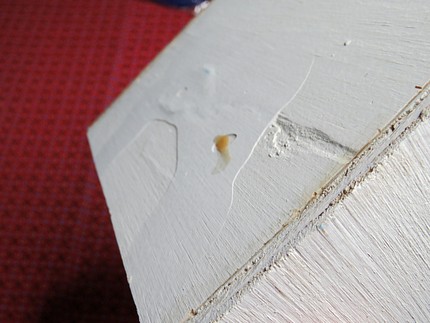
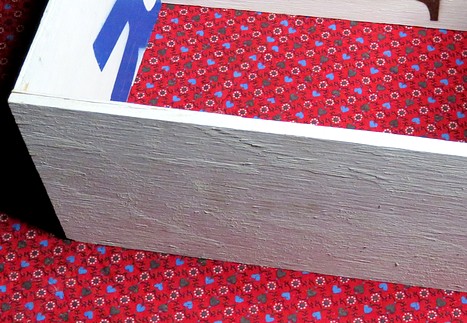
NOTE: I stored this in a garage, where it
froze during the winter and baked in the summer. Two
years later I
dropped it and it fell apart! One problem was that
the surfaces were painted before they were glued, so
the glue never went into the wood. A few tiny nails would certainly have helped
hold it together. Use brads or nails in addition to
the glue when making your cabinet. |
|
|
|
|
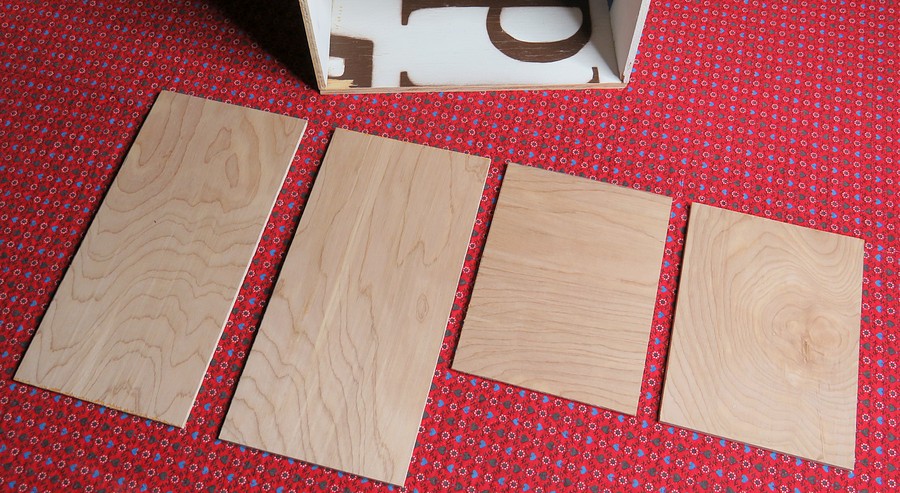
| It was off to Lowe's for a
nice piece of plywood. Unfortunately the 3/8"
plywood stocked on the shelves was in worse
condition than the 13 year old Pritz Reunion signs.
It was total junk I wouldn't have taken for free. I
bought "Luan" plywood. It's 5.2 millimeters thick, a
bit less than 3/8" but it was a LOT easier to saw
through. |
|
|
|
|
|
|
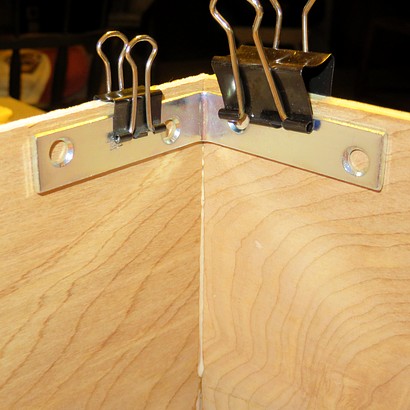
Andrea came up with an idea to use
corner brackets to keep the box square. |
|
|
|
|
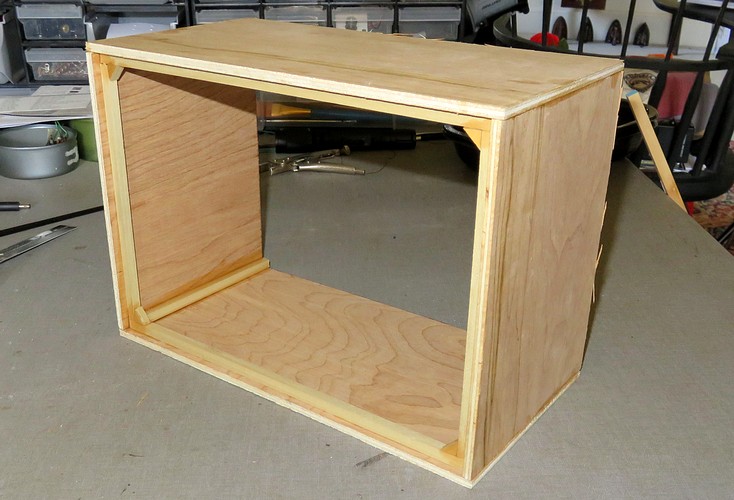
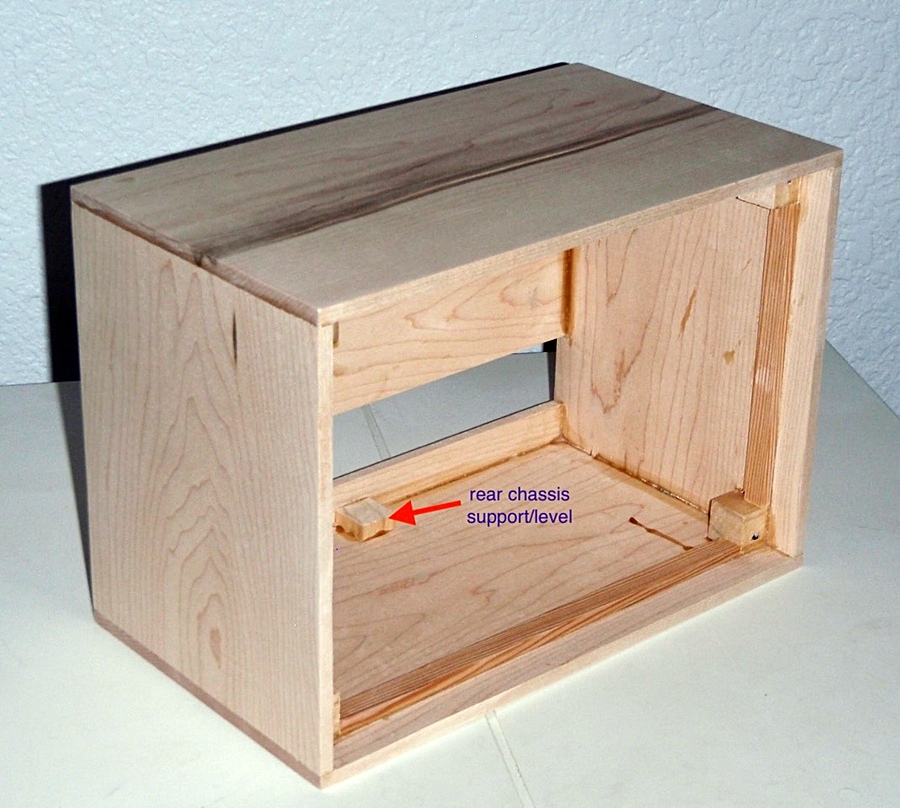
All four corners are now reinforced with
1/4" poplar trim. When the box was
assembled, all the factory cut sides faced front.
All my wonky hand cut sides face rear. They'll be
sanded with an electric palm sander before the back
is attached.
|
|
|
|
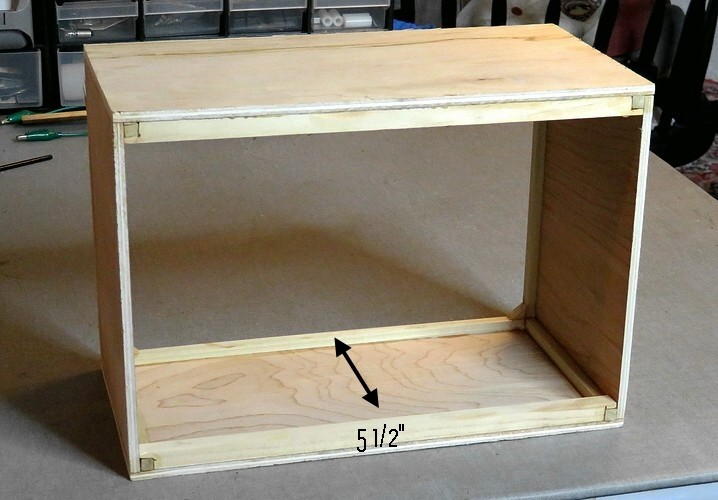
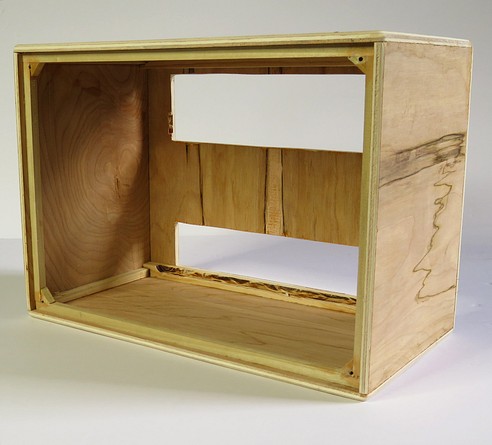
From the back, after thicker 5/8"
trim was added top and bottom. It is now very strong but
lightweight.
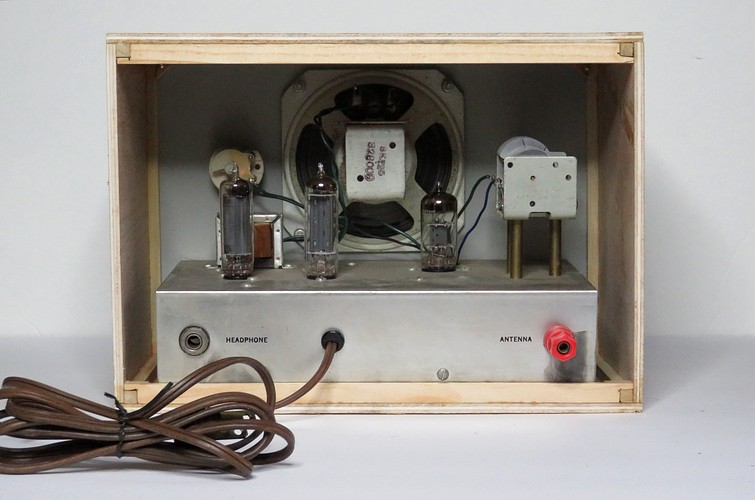
If using actual 3/8" plywood, the trim pieces in the back
aren't necessary. 5.5 inches of clearance are needed for the
chassis.
|
|
|
|
|
|
|
|
|
|
| Now it was time to test fit
a radio inside the cabinet. If it didn't fit there
was no sense in wasting time making a back for it.
The radio fit well, though the cabinet is about
1/16" out of square on one corner. Nobody will
notice once it's covered. |
|
|
|
|
|
|
|
|
|
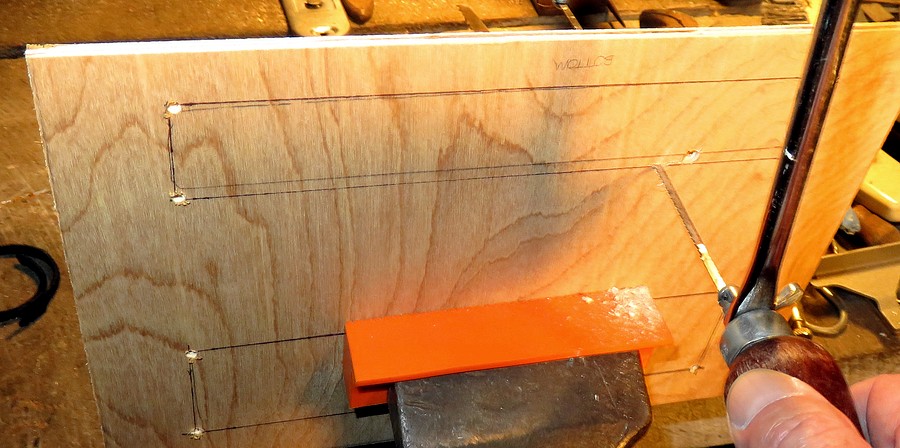
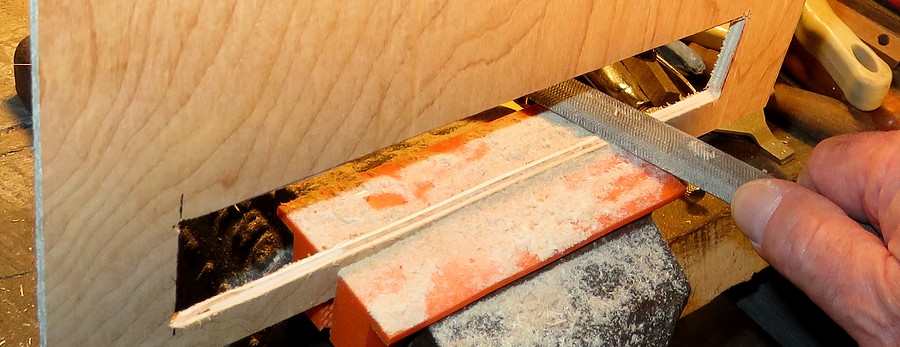
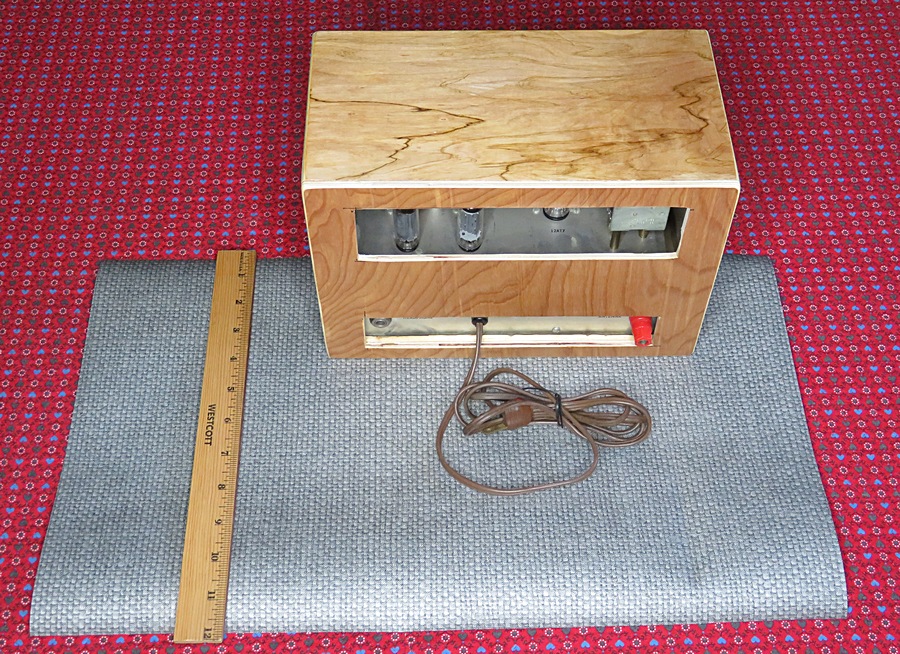
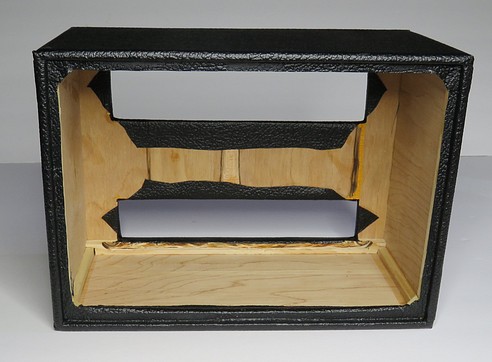
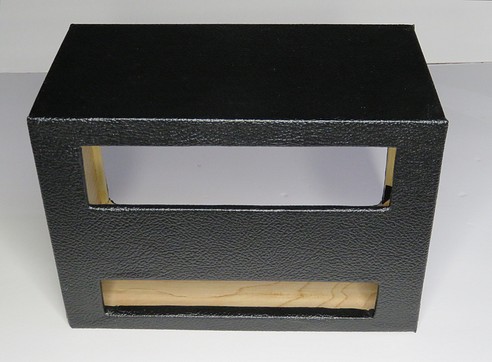
The cutouts in the back panel were made
with a coping saw. |
|
|
|
|
|
The coping saw makes a wavy cut that
needs to be filed straight. |
|
|
|
|
|
|
|
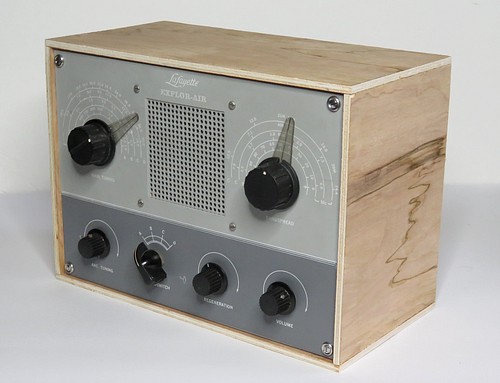
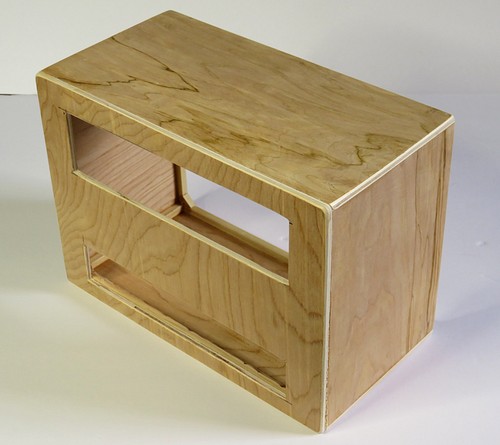
| The finished
cabinet. All corners and edges have been sanded
round. |
|
|
|
|
|
|
|
|
Now it was time to cover the
wooden cabinet, but with what? A close look at an
actual cabinet shows it appears to be covered with
vinyl wallpaper! How to score some vinyl wallpaper?
I had a plan. Yes, a CLEVER plan. I'd buy a
wallpaper sample.
I went online and found a really nice vinyl
pre-pasted wallpaper. It was $1.10 a foot but you
have to buy two 16.5 foot rolls. However, you could
order a sample for $5.99.
If the wallpaper is $1.10 a foot and a sample is
$5.99, how much do you think you'd get? At least
three feet, right? |
|
|
|
|
|
|
They sent a foot!! |
| When I complained that I was
hoodwinked into buying $1.10 worth of wallpaper for
$6, a nice person named Lori told me that it was the
industry standard for a sample. She agreed it was
too small to tell what an entire room would look
like and sent me another sample. |
|
|
|
|
|
|
|
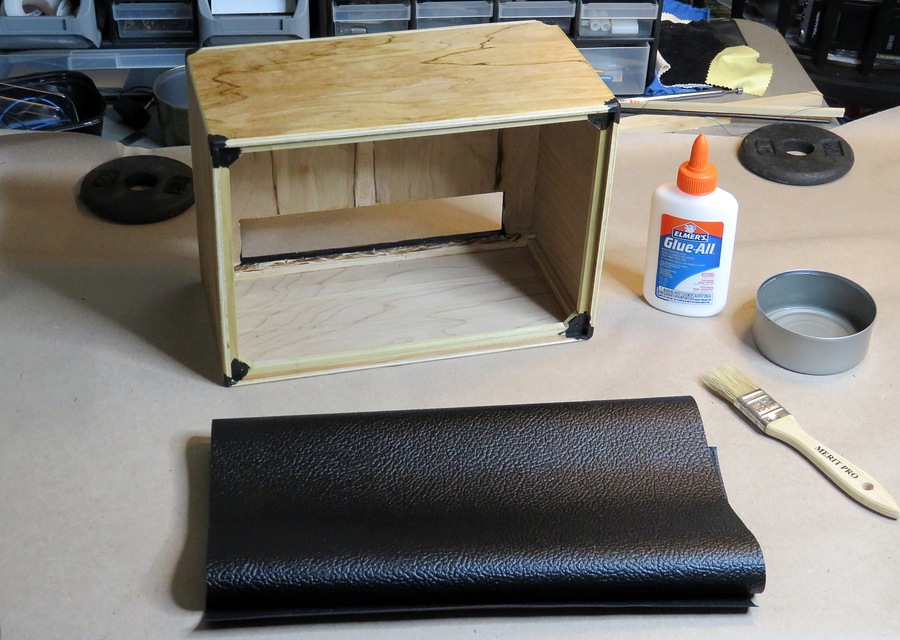
While waiting for the other wallpaper
sample to arrive, "Plan B" showed up in the mailbox. I had
ordered a roll of Tolex from ebay. |
|
|
|
|
|
The cabinet corners were painted black
in case I messed up one of the cuts. |
|
|
|
|
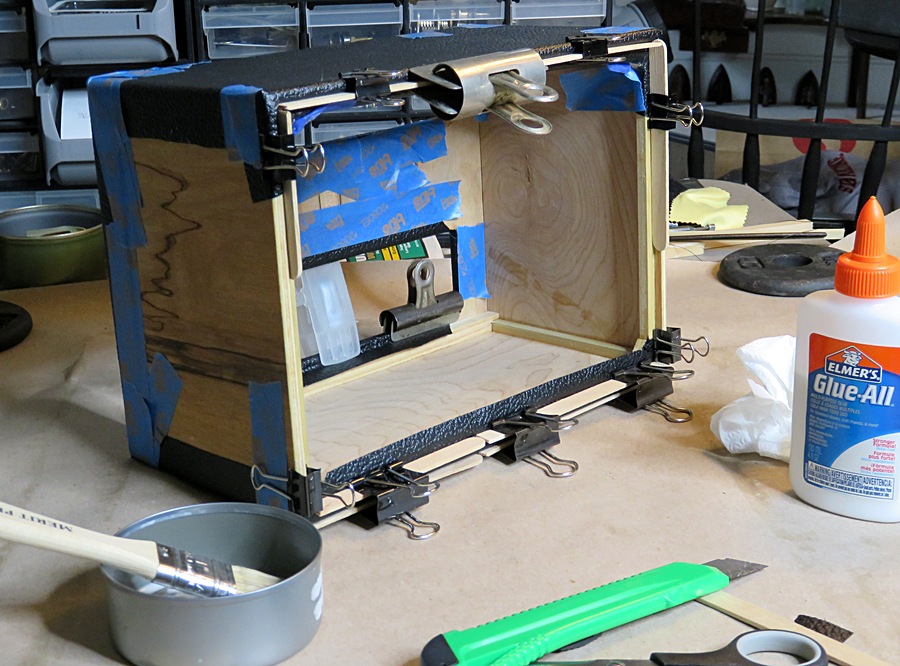
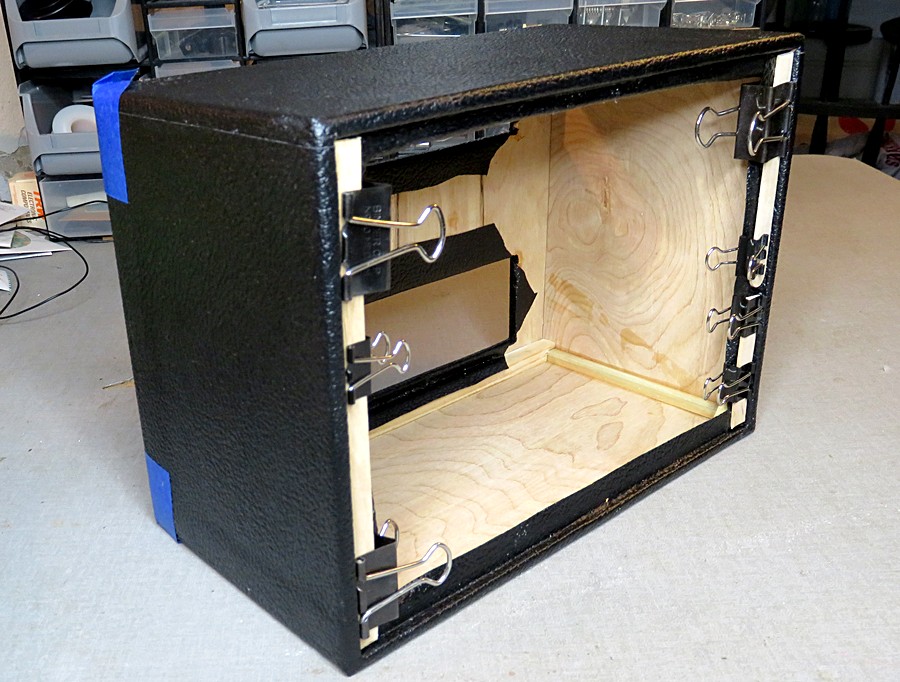
The plan was to use white
glue, which is probably the wrong stuff to use. The
back of the Tolex was covered with glue, then the
cabinet was placed on it and the Tolex was just
pulled over the back and top.
I quickly found that Tolex does NOT go on like
wallpaper. It will not take a crease unless you
force it to. (I suspected this might happen,
considering the thickness of it.) Before the glue
set, I had to find spring clips, popsicle sticks and
masking tape to get it to do what I wanted.
The question now is how is the glue supposed to dry
when it is covered with vinyl? |
|
|
|
|
|
| The next day, the sides went
on much easier. Since I now knew how the Tolex
behaves, all the clips, popsicle sticks and pre-cut
pieces of masking tape were standing by. |
|
|
|
|
|
|
|
|
|
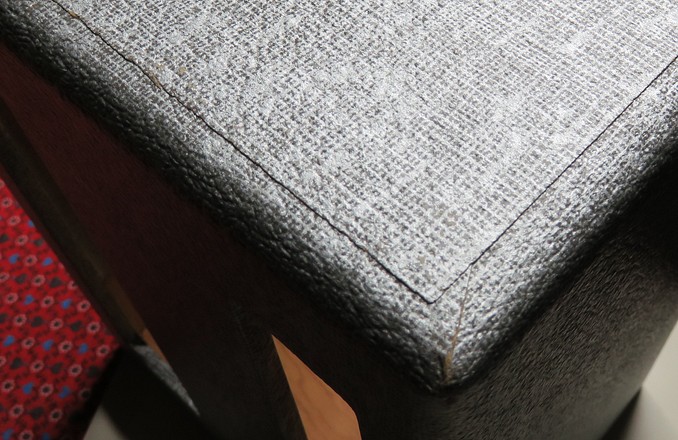
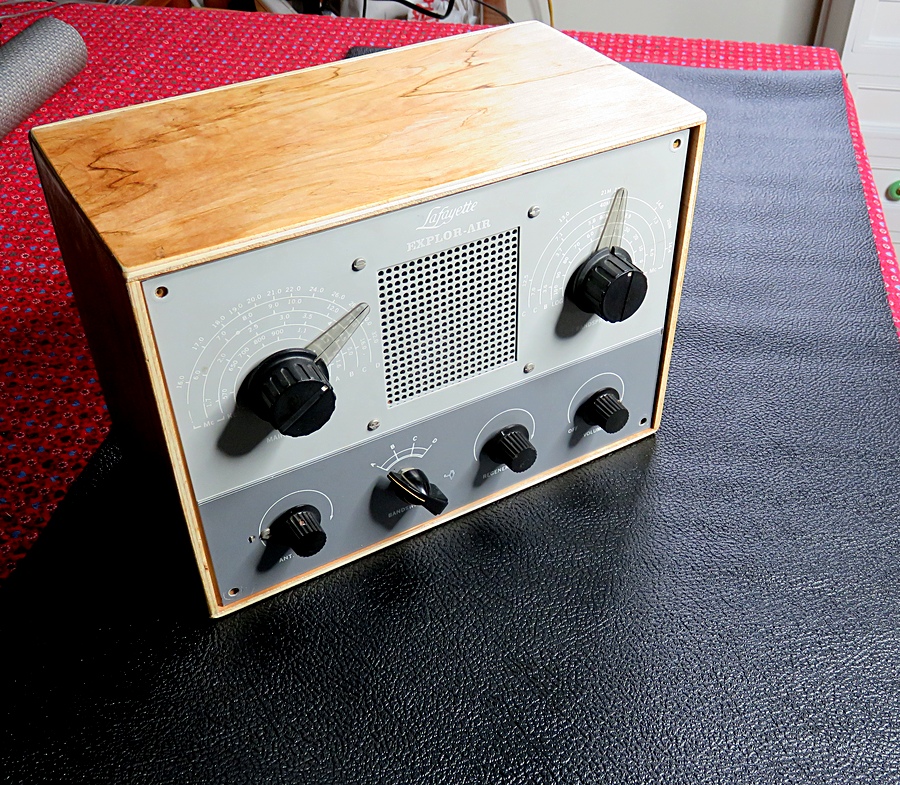
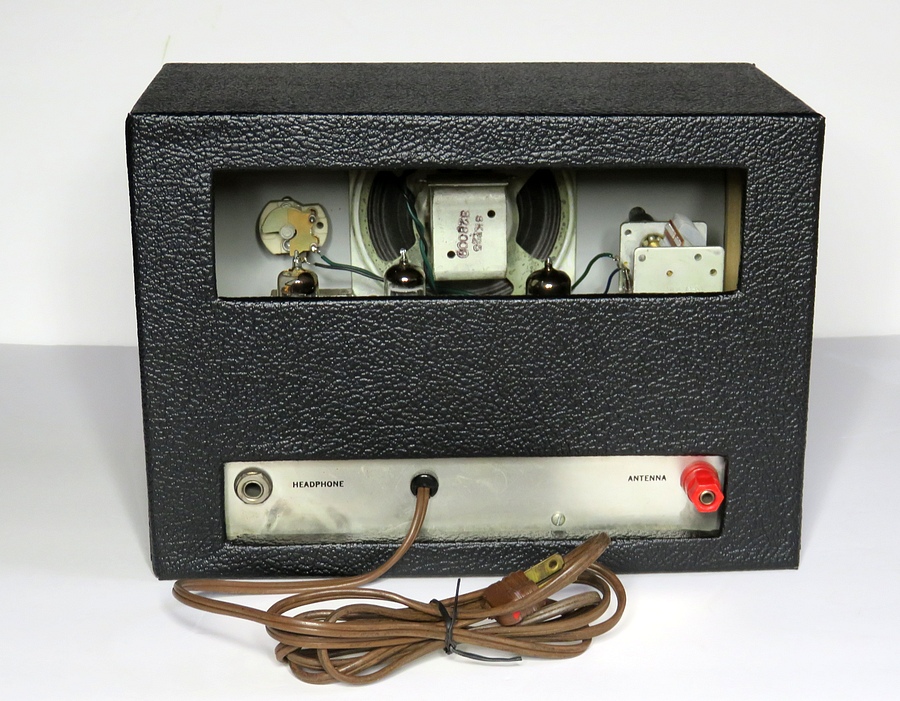
Finished! Not perfect, but not too bad
for a first attempt. I think the glue is still wet under the
Tolex. |
|
|
|
|
|
|
|
|
|
|
|
The materials used cost about $15.00,
the equivalent $2.06 1968. I saved about $10.40 in 1968 dollars
by making it myself.
|
|
|
|
|
|
|
This one sold on ebay in March of 2022. |
|
|
|
|
|
|
|
|
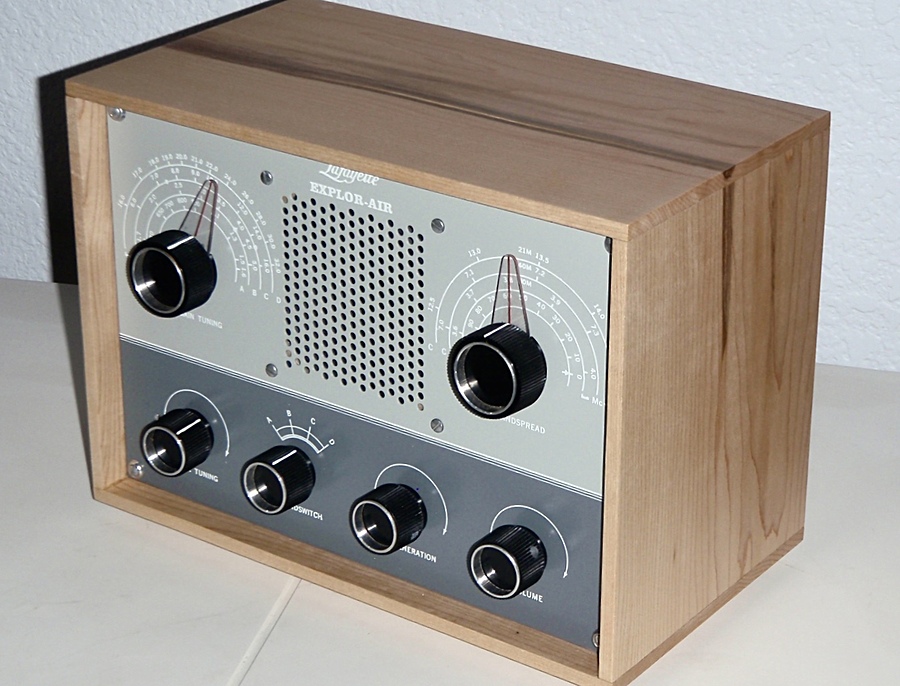
This cabinet was made by Jeffrey
Hutchinson of Oregon in 2023. |
|
|
|
|
|
A nice home for a KT-135. |
|
|
|
Next, the KT-135 goes to the Moon! |
| |
|
|
| |


