|
1947 Motorola Model 67-X |
 |
|
|
|
|
|
|
|
|
|
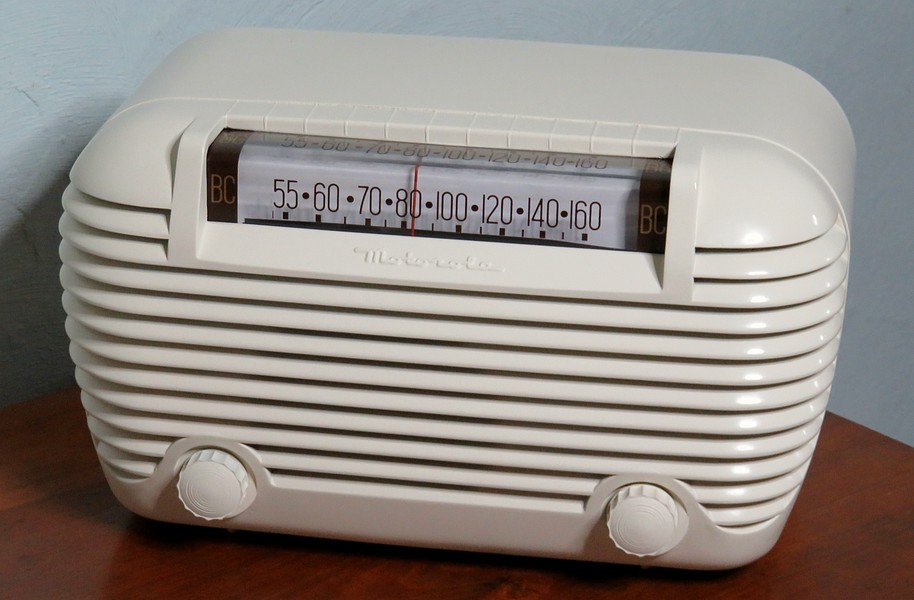
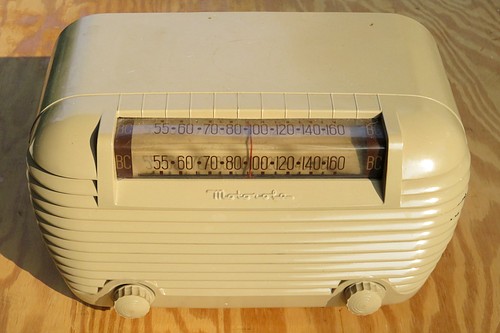
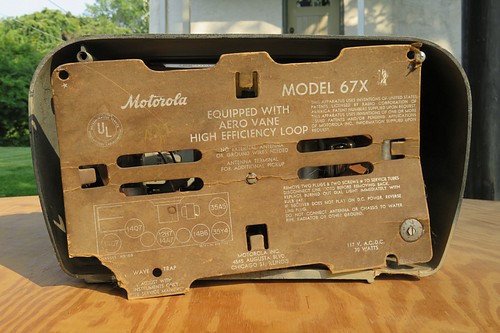
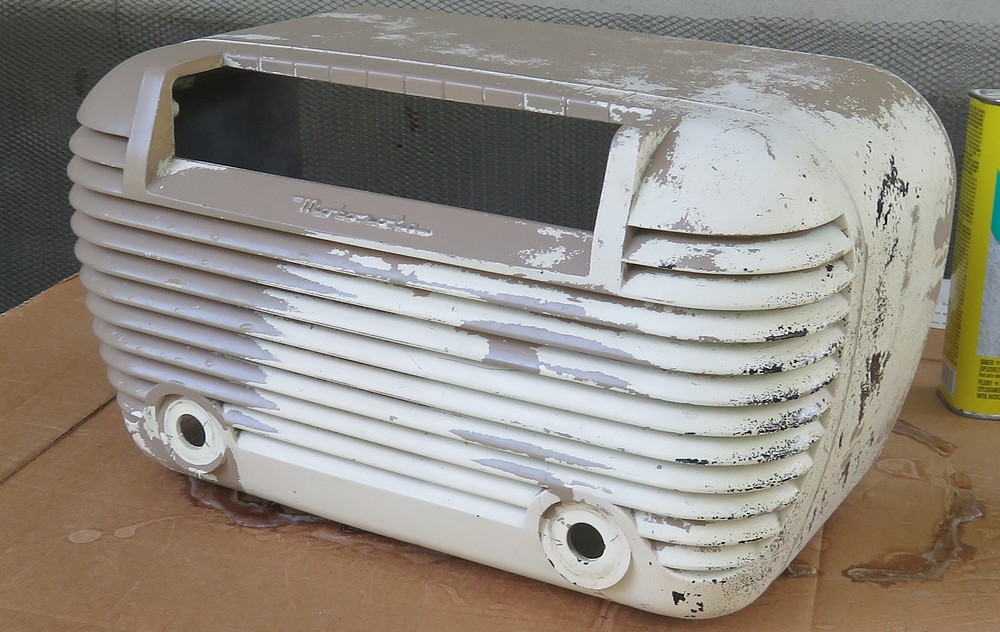
A Motorola model 67X six tube AM radio,
manufactured on December 11, 1947. |
|
|
|
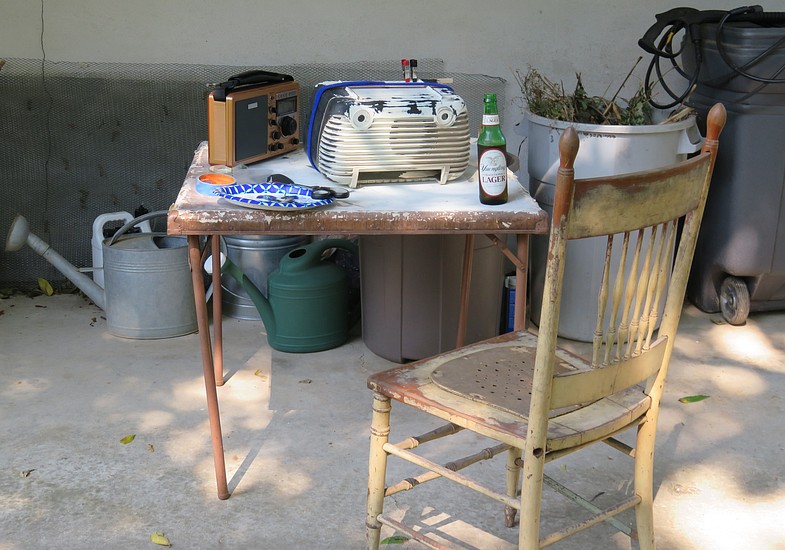
In the middle of Upper Gwynedd Township in
Pennsylvania is the borough of North Wales. In North Wales lives a
guy named Hank. We'll call him "Hank" because Hank is a nickname for Henry.
Hank gave me this radio in 2017 and
it's been sitting in the garage for a year. Hank's brother-in-law
gave it to him. It doesn't look too bad.
Somebody (not Hank) spray painted it for some reason. The color is
not very flattering, but perhaps it went with the decor.
The back is
bashed in. Does that matter? Can we reattach it with some tape
and make it work? Let's look at this radio more
closely. |
|
|
|
|
|
|
|
|
Yes, a fine looking radio. From a distance. It's
large for a table radio; 13" wide by 8" high by 8" deep. |
|
|
|
|
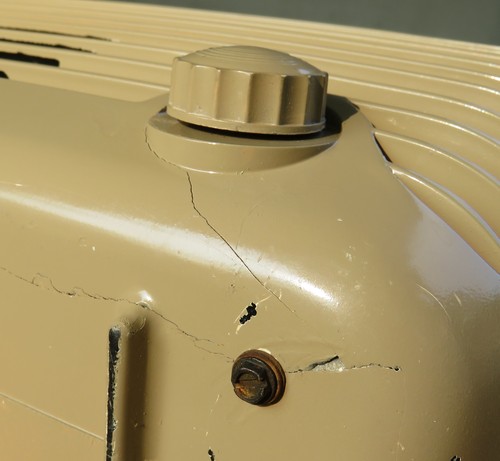
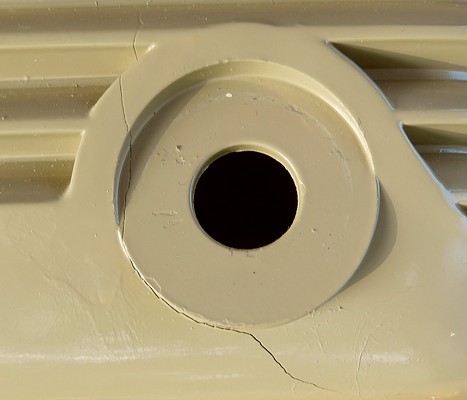
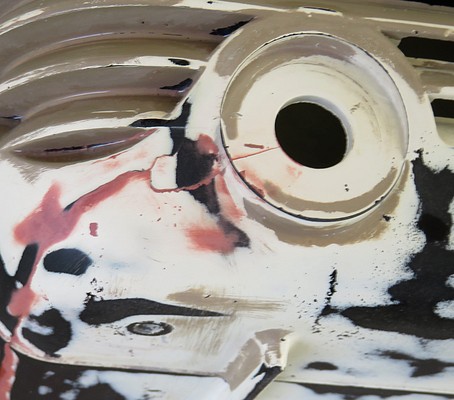
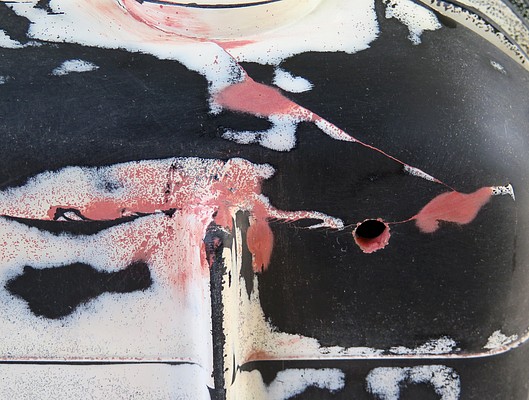
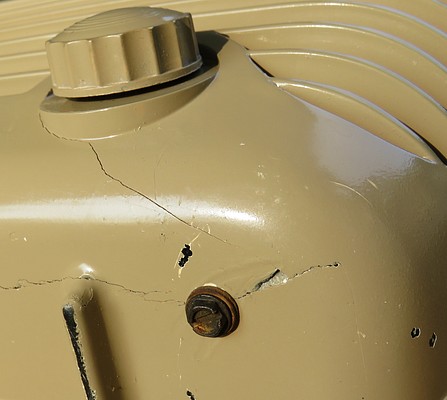
| A closer look reveals this radio has been
dropped, or it fell. It had been hastily repaired, then
spray painted. The cracks show that it was dropped
again after it was spray painted, so it was dropped twice.
|
|
|
|
|
|
I get the impression this radio cabinet was
repaired as quickly as possible and then painted
"before Dad comes home and sees that we broke the radio."
Notice on the right that the paint came off when the screw was
removed. That means the chassis was put back into the
cabinet before the paint even had a chance to cure.
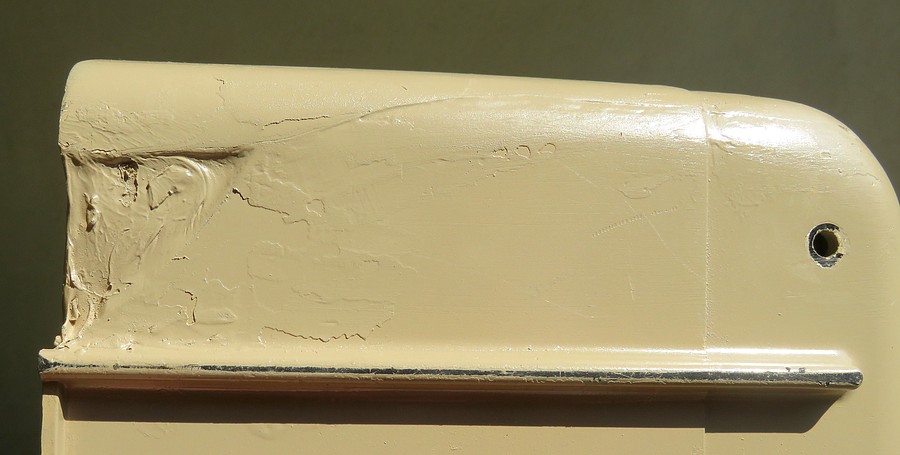
There is a chunk out of the bottom. The repair was a piece of paper taped to the inside of the
cabinet and then the missing part was filled with CAULK. Dad
will never notice, he never looks at the bottom. |
|
|
|
It keeps getting worse the closer you
look at it. |
|
|
|
|
|
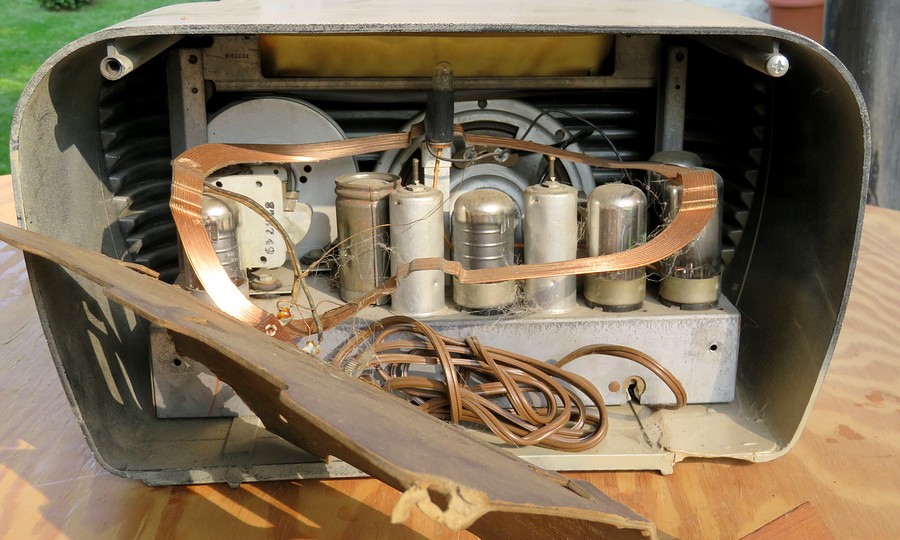
Looking inside, the
antenna coil is lying across the contraptions, gadgets and
gizmos that make up the radio. It's supposed to be attached to the
back. When you see how it is
attached on the next page, you will have to wonder what hit
the back of this so hard the antenna came off.
The stringy things are
spider webs from being in the garage. Notice where the AC
cord comes out. It is pinched under the chassis. |
|
|
|
|
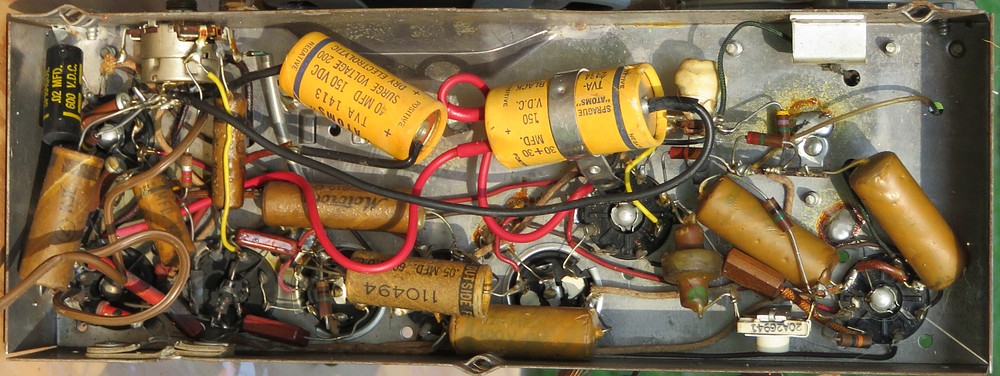
| The underside of the
chassis looked very clean. When the radio was powered on it
was silent. An ear to the speaker detected a slight 60 cycle
hum. The volume control and tuning knob had no effect. |
|
|
|
|
|
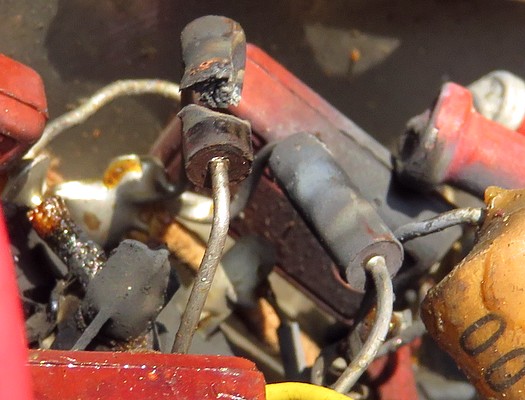
Look! An exploded resistor! Ha-ha, no
wonder it was so quiet. I would have loved to have been
there when somebody turned on the radio and it started
smoking. There was probably a loud SNAP sound associated
with it, or as I like to say, "There was a bright orange flash
followed by a loud report." |
|
| |
|
|
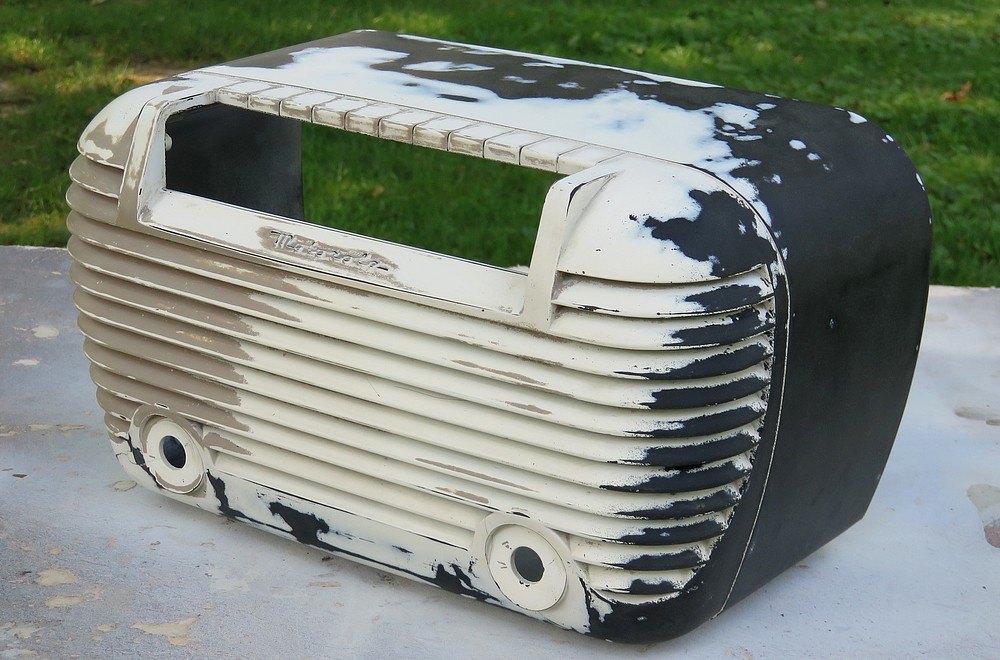
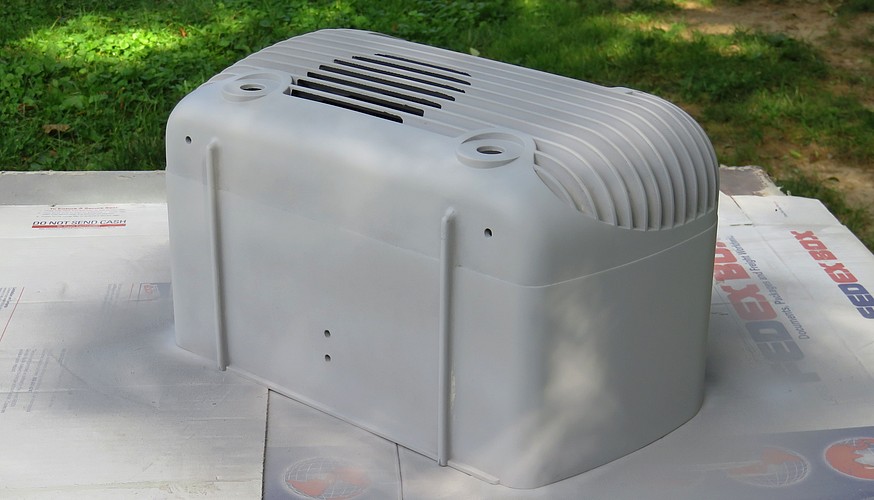
OK, we'll worry about
the exploded resistor later. Here is the cabinet after SEVEN
coats of paint remover. What a disaster. The paint will not come off, not
even the spray paint. After the third application of paint
remover I went out and bought a different brand but it
didn't help.
I've run into this situation in my house, which was built in
1880. It's LEAD PAINT. Paint remover is like water to lead
paint. What is up with the left side? Maybe it's lead based spray paint from the '50s, but it came
off the right side. This is
the strangest thing I've ever seen. |
|
|
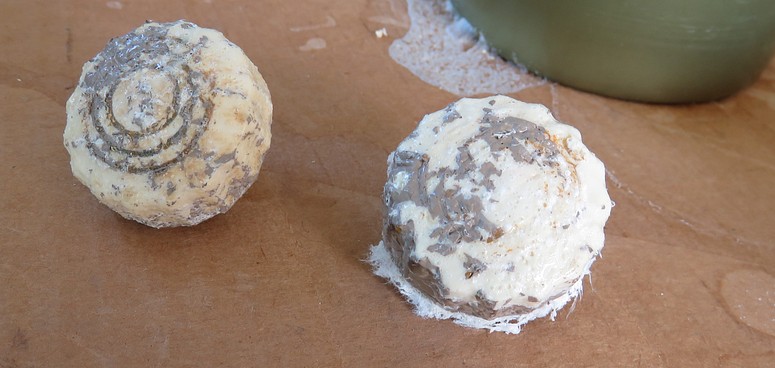
After three hours I
considered that I had been defeated. I had basically ruined
the paint job on the radio cabinet with all the paint
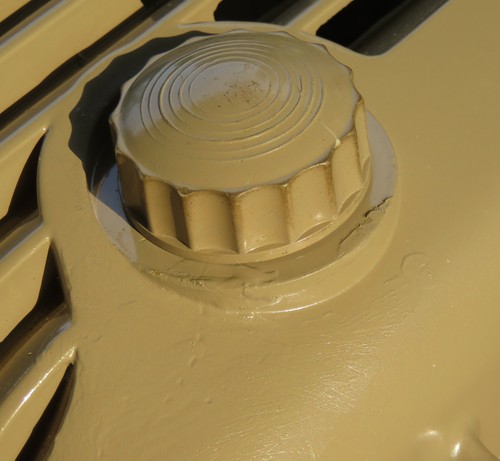
remover, then I glanced down at the knobs. I MELTED the
knobs with paint remover.
Why didn't I just think to repaint them? I melted a set of
71 year old radio knobs!!
It sure would be easy to remove the vacuum tubes and chuck
the rest of the carcass into the trash. But what if Hank
found out? What would Hank think of me if he knew he gave me
a radio and I destroyed it? My lower lip began to quiver and
my eyes filled with tears. Quietly sobbing, I picked up a piece of
sand paper. |
|
|
|
|
|
|
After a few hours of sanding it started
looking better. It looked a LOT better. |
|
|
|
|
|
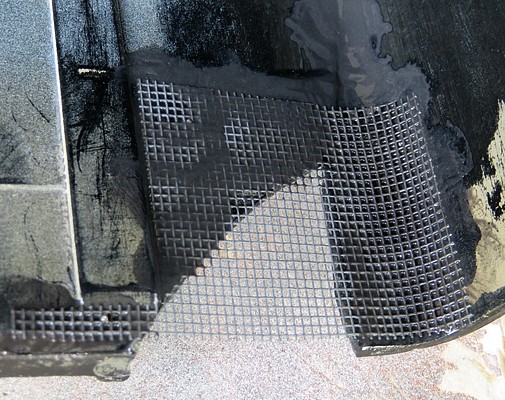
| The following day, the caulk was removed
from the hole in the case, then a piece of nylon screen was epoxied in place. After that, a form was made so the missing
piece could be recreated with J-B Kwik Weld. At this time
the cracked front corners were also reinforced on the inside
with nylon screen and Kwik Weld. |
|
|
|
|
|
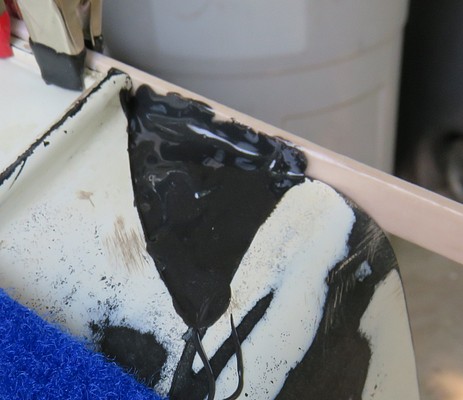
| The hole was filled
half way, a second piece of screen was dropped in and then
topped off with more epoxy. |
|
|
|
|
|
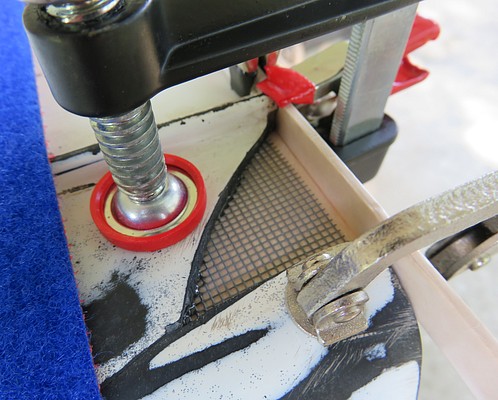
After the Kwik-Weld
cured it was sanded with a palm sander. Some glazing putty brought up the low spots.
|
|
|
|
|
| It's a beautiful hot
summer day at the end of August. I'm listening to the radio,
drinking beer and fixing a tube radio cabinet. Life is good!
I lost track of how many beers I had. The radio cabinet started
looking at me. |
|
|
|
|
|
|
More sanding. More beer. Sanding. Beer.
Sanding. Beer. Very relaxing work. Birds are chirping,
cicadas are droning, all is well.
Wait... Andrea's calling me. "CAN'T YOU SEE I'M
BUSY??! GET ME ANOTHER BEER!!" Sanding. Beer. Sanding. Beer. |
|
|
|
|
Two coats of primer and more sanding. It
was wet sanded under a dripping garden hose. |
|
|
|
|
|
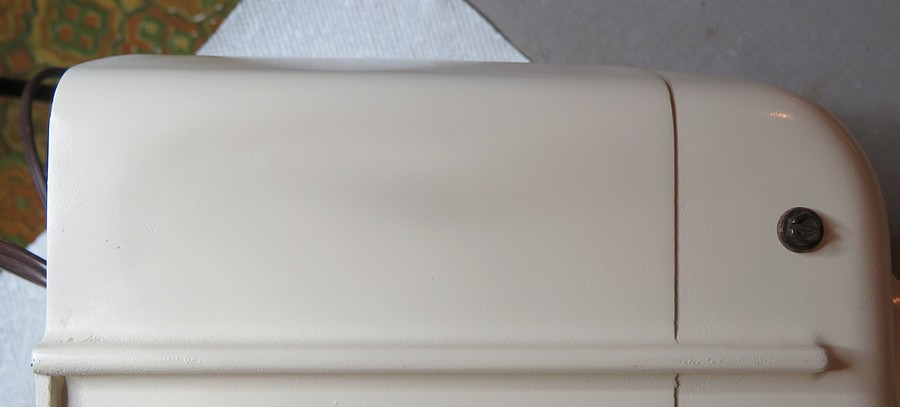
I can't un-see this. |
|
|
|
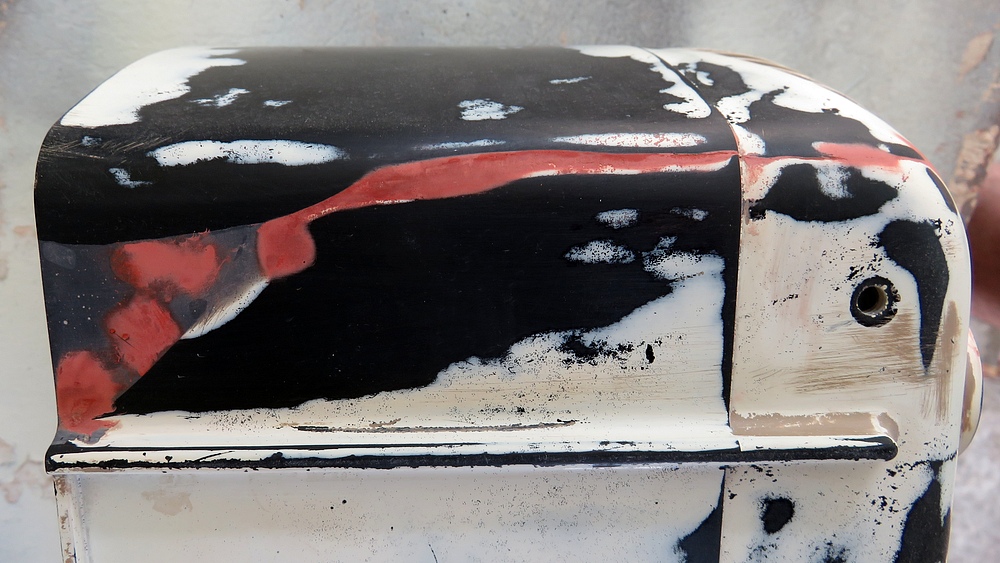
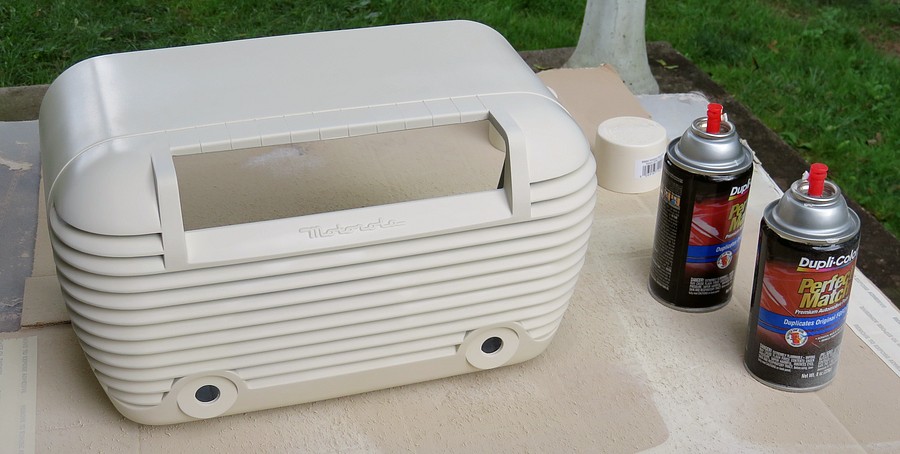
The cabinet was painted
with Dupli-Color car paint, which turned out to be
expensive. The price of this paint has gone up and the cans
are 2/3 of the size they were last year. On the plus side,
it dries really fast!
After the paint dried I noticed there were some rough spots
when I ran my hand across the cabinet. I had to wet sand it
with 1000 grit sand paper and then polish it, so "never again" with this
paint. |
|
|
|
|
|
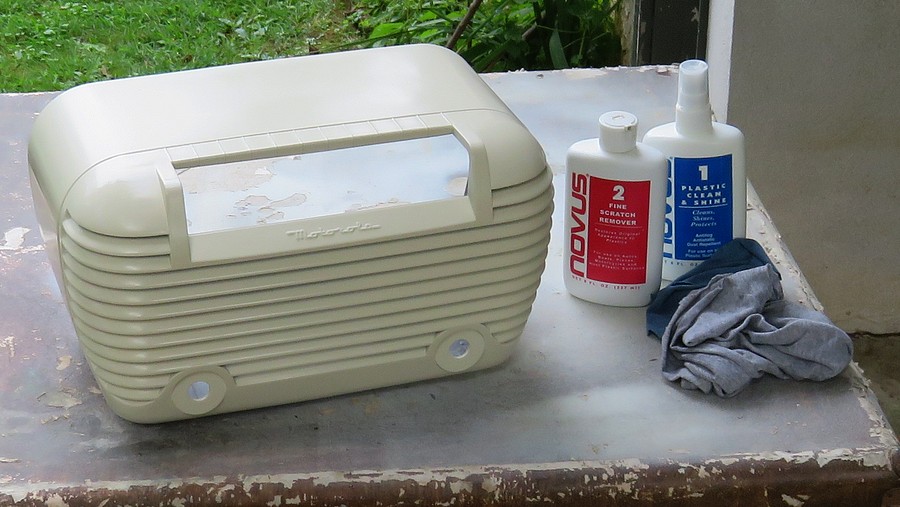
| A gloomy Sunday morning
(09/02/2018). We're supposed to be out on a farm launching
model rockets but a thunderstorm went through and drenched
the field. The launch was cancelled, so instead of launching
rockets, I polished
the cabinet. It looks better in real life than it does in
the picture. |
|
|
|
|
|
|
|
|
|
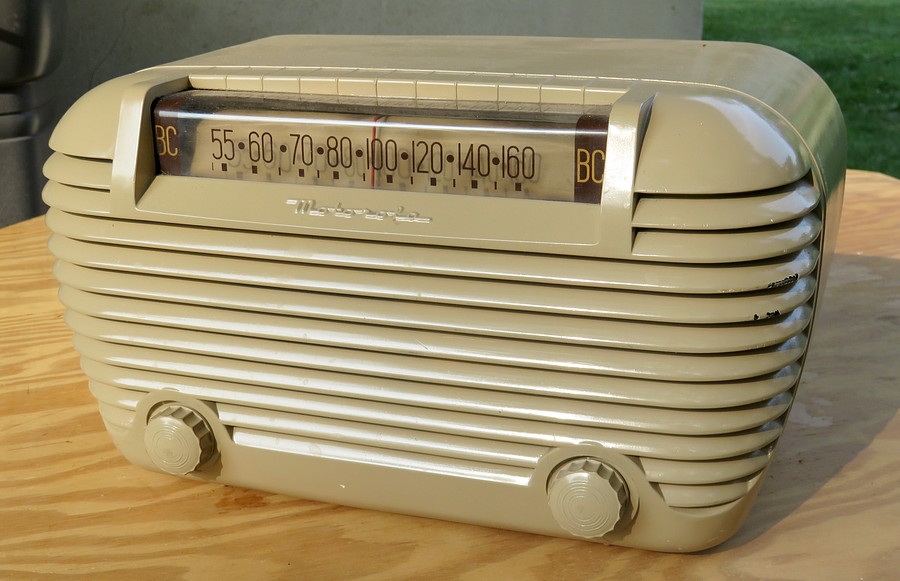
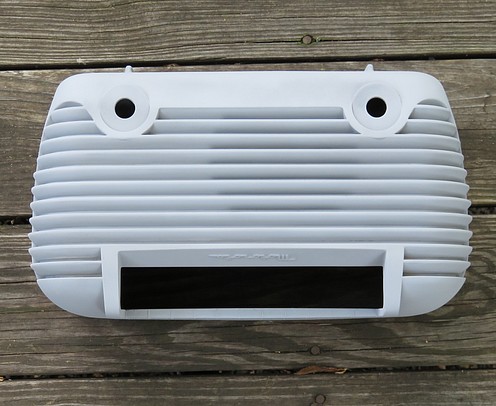
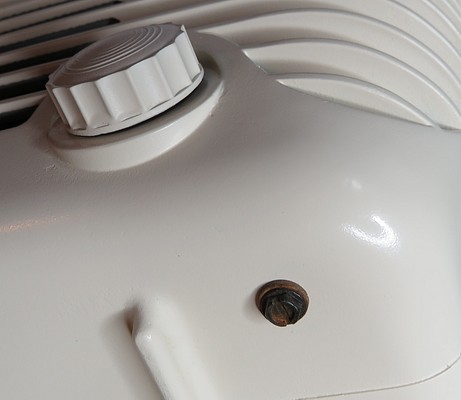
Here's how that repair turned out in the end. |
|
|
|
|
|
And this one. |
|
|
|
| I just found out that I could have saved myself all that sanding by
coating the radio case with brake fluid or oven cleaner,
putting it in a plastic bag and letting it sit overnight. Oh
well. The beer was good. |
|
|
| |
|
|
| |