|
Coil Winding Jig |
 |
|
|
| |
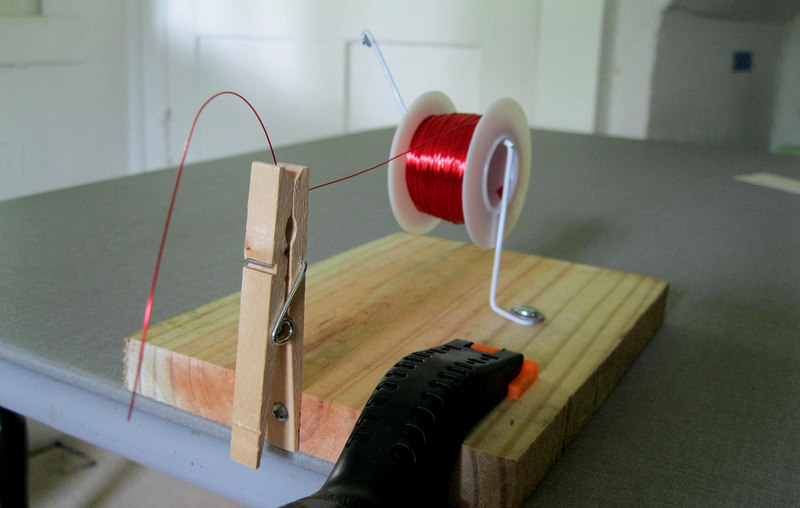
Here is a simple coil winding jig. It holds the wire
and keeps tension on it, which allows you to use both hands to
wind the coil. A small hole is drilled in the back of the clothespin,
then the wire is drawn through the "jaw".
|
It was inspired by Elmer Osterhoudt of Modern Radio
Laboratories.
|
|
|
|
|
|
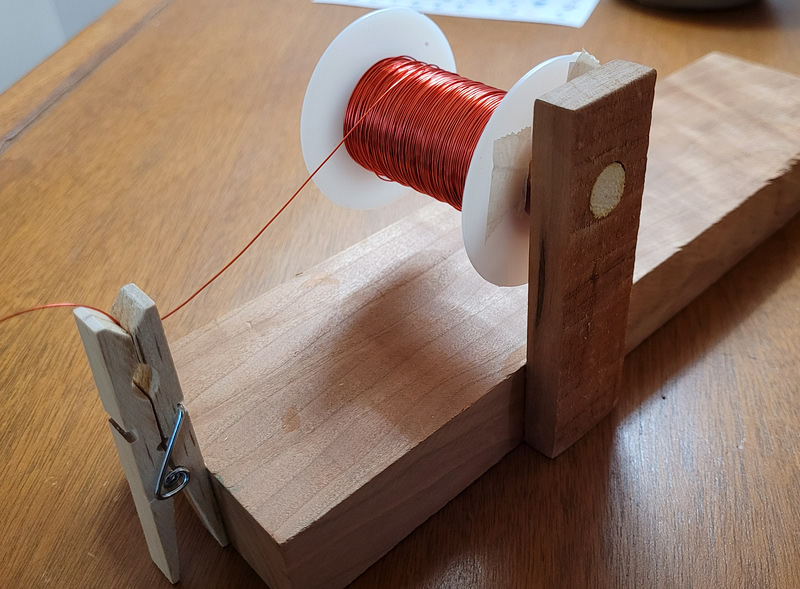
This one was made by B. Matteson. |
|
|
|
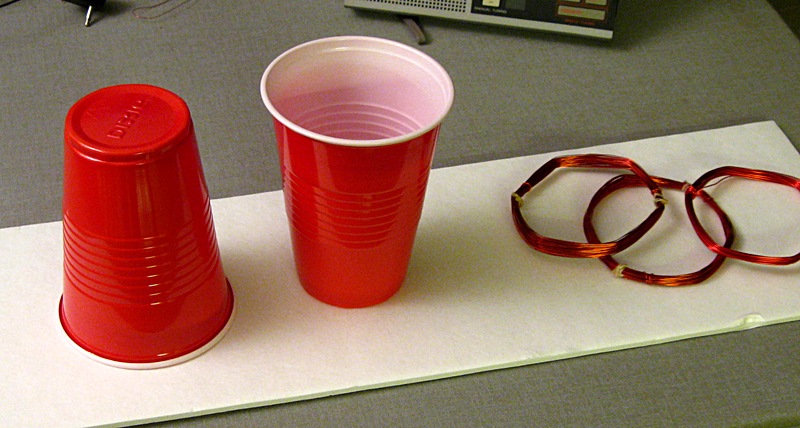
What if the wire isn't on a spool? A loose hank of wire can be very
difficult to work with. |
|
|
|
|
|
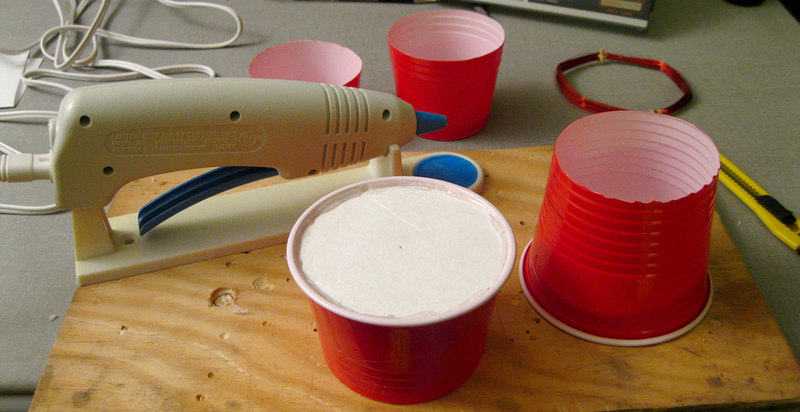
To use a hank of wire, the jig can be modified
using two plastic party cups and some posterboard or cardboard.
A compass and glue gun are required. A wire nut is optional. The cost is
almost nothing. |
|
|
|
|
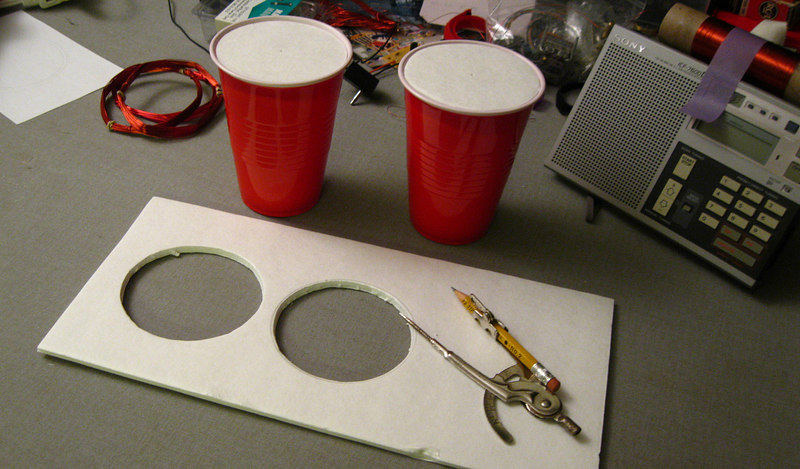
Using the compass, describe two circles that are a
bit smaller than the tops of the cups. The point on the compass
has the benefit of poking a hole in the exact center. Cut them out and
hot glue them to the tops of the cups. |
|
|
|
|
|
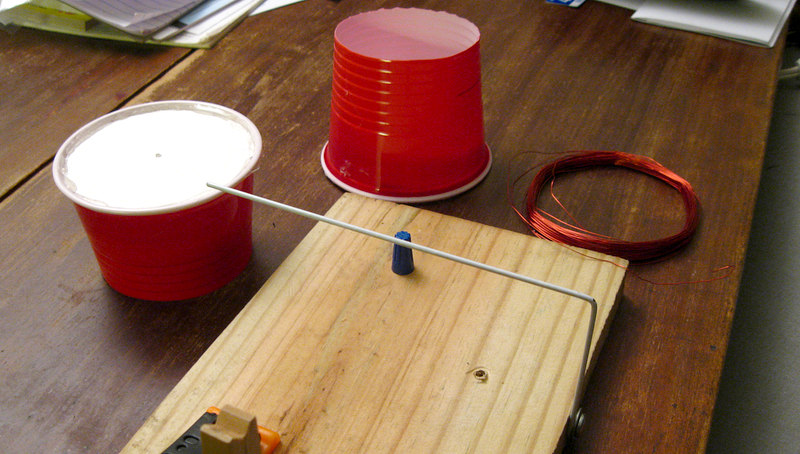
Slice the cups in half with a utility knife. One
cup must be longer than the other because they are going to fit
together. |
|
|
|
|
|
Bend a piece of coat hanger and attach it to a
wooden base. (The blue object is the wire nut.) |
|
|
|
|
|
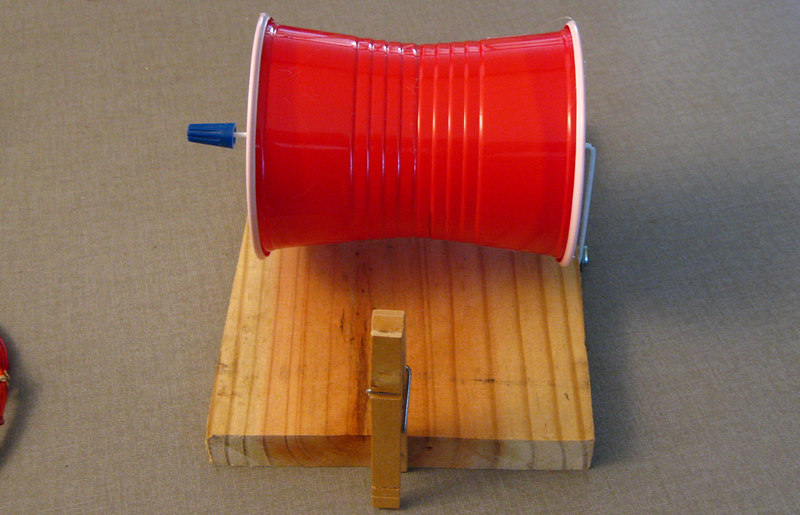
Slide one cup onto the coat hanger, then the other.
The cups will fit snuggly together. Give it a spin! NOICE! |
|
|
|
|
|
To use: Slide one cup onto the coat hanger, add the
hank of wire, slide on the second cup and push them together. |
|
|
|
|
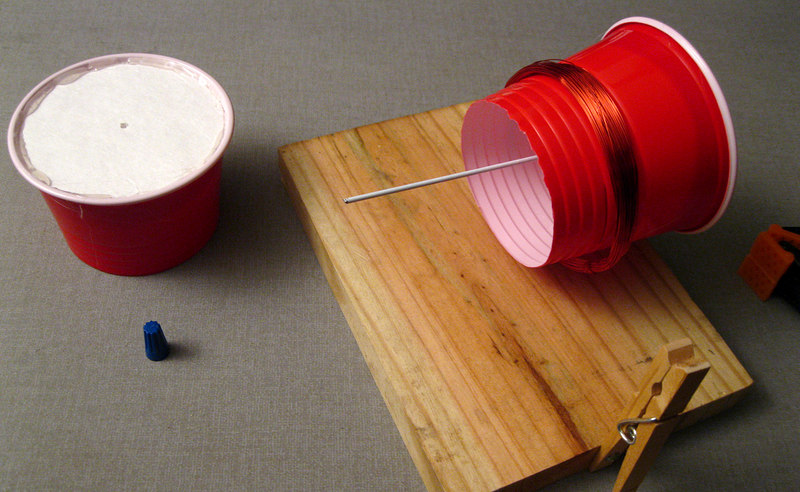
Very important! Make sure to use the outer
winding of the hank or you'll make a bird's nest.
Thread the wire through the hole in the clothespin and clamp the jig to
a table.
|
|
|
|
|
|
|
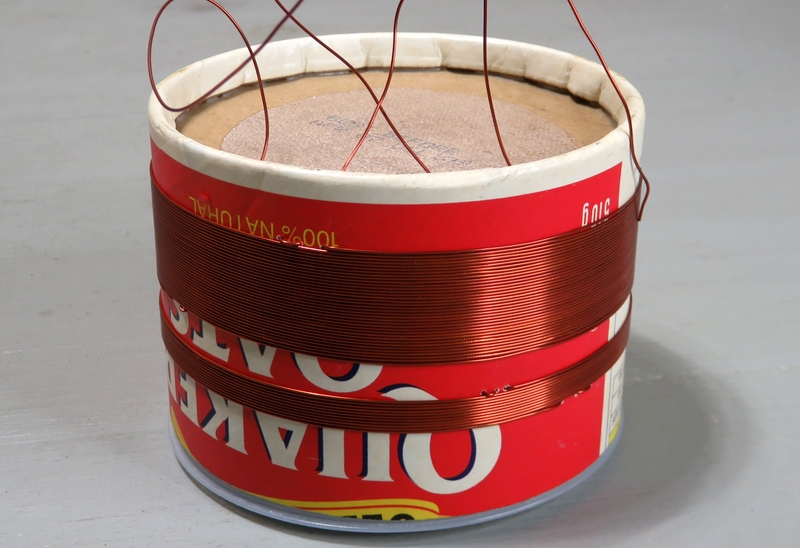
This 4" diameter coil would have been difficult to
wind without the wire hank on the jig going through the clothespin. |
After a hank of wire that came in a kit was ruined (by me) I came up
with the idea to use the cups.
Not only does it work perfectly, I was able
to
save the extra wire for some future use. |
|
|
|
|
This concludes our broadcast day. |
|
|
|
| |